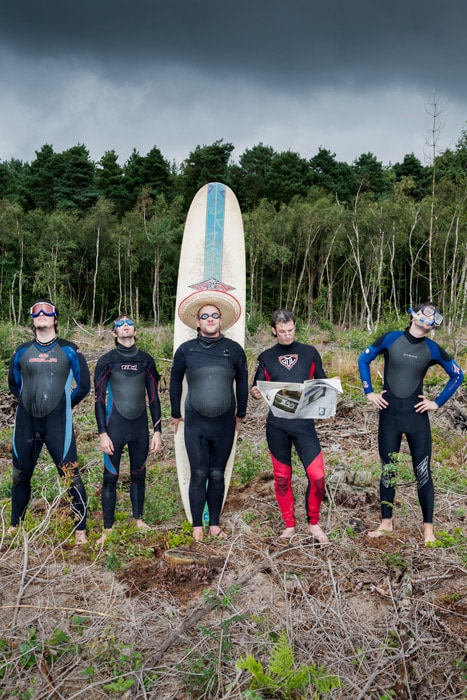
Learn how to apply a stylish bleach bypass effect in Photoshop. This effect desaturates images, boosts contrast and highlights texture in a similar way, but different, to Clarity in Adobe Camera Raw and Lightroom. The bleach bypass technique comes from the days of film. It was achieved during transparency film processing the bleach stage was missed out, or bypassed. Here’s how to apply a bleach bypass effect in Photoshop.
Digital photography has completely changed the way we approach techniques and learn about photography. And this is in part thanks to digital cameras making it quick and easy to get images online. The internet has completely democratised photography.
Long gone are the days where techniques were closely guarded secrets passed down from professional to assistant. All we have to do now is type what we want into a search engine to be delivered a long list of potential links in seconds. Whether that’s a step by step, location guide or simply access to inspirational images, it’s all at out finger tips.
The fact that you’re reading this now is probably because you searched for bleach bypass in Photoshop, and were directed here. So here’s an easy to follow tutorial showing you how to create a bleach bypass effect in Photoshop…
Bleach bypass in Photoshop
For Elements users
If you would like to follow this tutorial in Photoshop Elements it is possible. But when you get to the stage where you need to lighten the image, use Levels instead of Curves. Simply drag the middle, mid-tone, slider below the histogram to the left until the overall brightness of the image is correct. Once the effect has been applied you can drag the folder containing the Layers onto other images in Photoshop to save time.
Before
After
To check out more of my Photoshop video tutorials visit www.youtube.com/jamesabbottphoto


