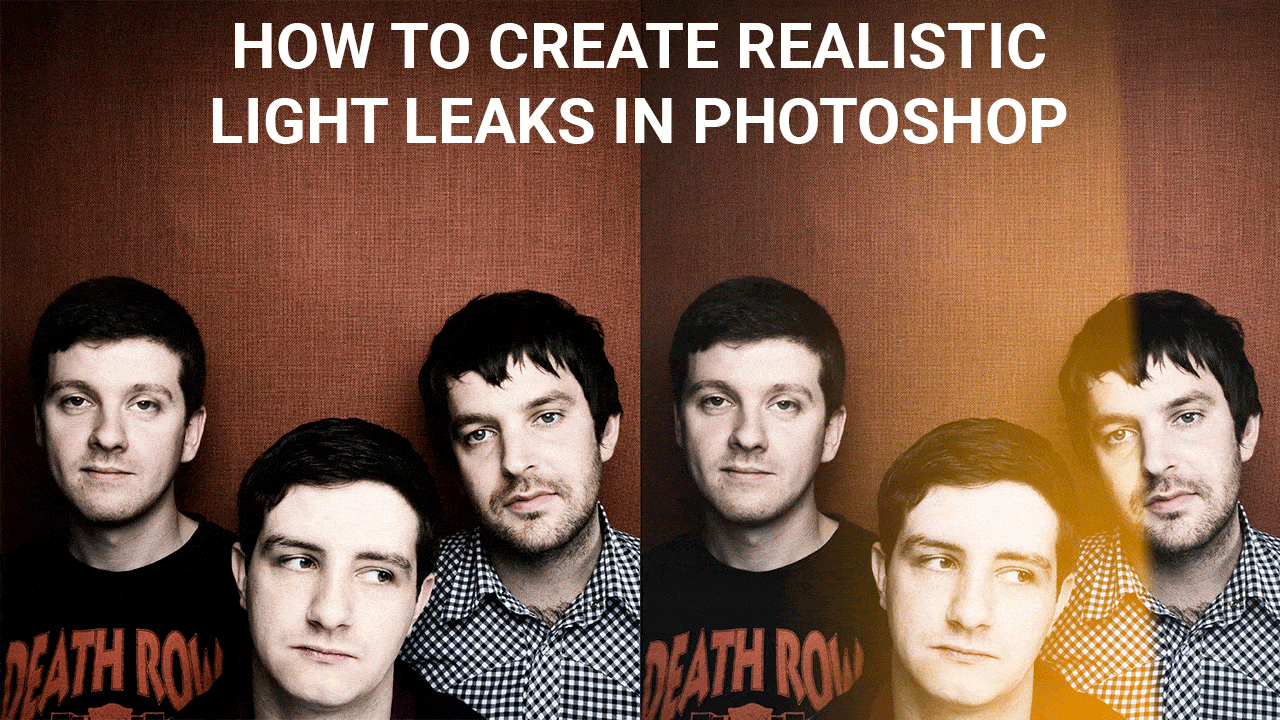
Digital photography is crisp, clean and overall much more consistent than analogue photography. This is great for the most part, but like most things digital results can quickly become too perfect. Relive the unpredictable nature of film photography and add a stylish retro effect to your shots by creating realistic light leaks in Photoshop. Here’s how it’s done…
Light leaks, or film fogging, was created when light was leaked onto unprocessed film. This could have occurred when the back of the camera was accidentally opened for a brief moment, or when a film canister was damaged. The result looked like scorch marks on the image when prints were made, and overall contrast was often reduced.
No two light leaks were ever the same, and while back in the days of film photography it was considered a huge mistake. These days creating fake light leaks in Photoshop has become a popular technique. There are many different ways to create the effect, but none are quite as realistic as this method.
In the video tutorial you’ll be shown how to create a single light leak. But once you know how to do this using Gradient Adjustment Layers, you’ll then be able to create multiple, and indeed unique light leaks. The only thing you have to do is create two gradients for each light leak, so you could have one main flash covering a central part of the image and another coming in from the edge. The possibilities are almost endless.
Light leaks before/after
After
 To check out more of my Photoshop video tutorials visit www.youtube.com/jamesabbottphoto


