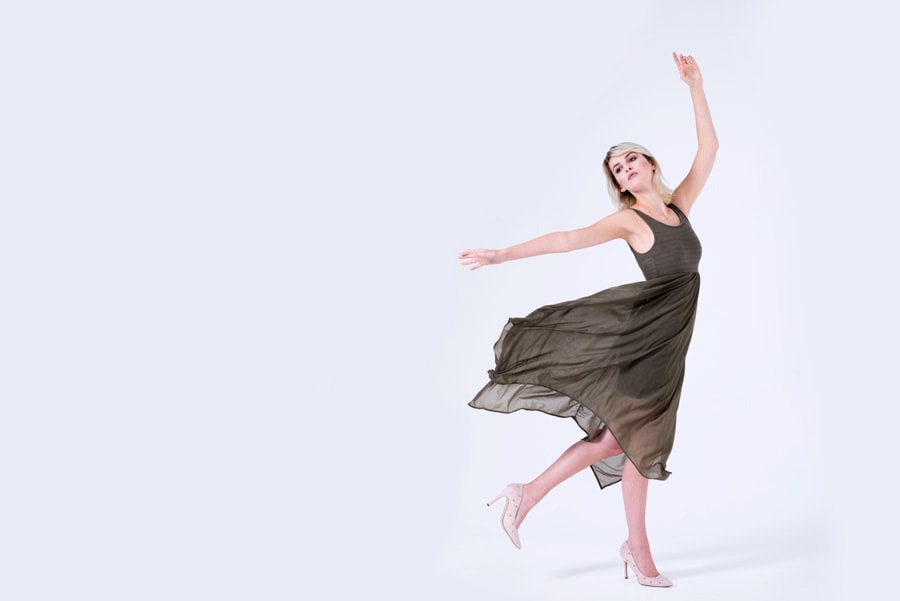
How to boost contrast without increasing saturation. Adjustment Layers in Photoshop are powerful tools, but sometimes using them at face value doesn’t provide the best results. In this tutorial we’ll take a look at how a simple change of Blending mode can make a huge difference to an Adjustment Layer.
When increasing contrast with Levels or Curves, one of the issues that arises is that saturation often increases alongside contrast, but by using this quick and easy tip you can achieve much more natural results using Blending modes.
Boost contrast without increasing saturation
It’s incredible just how effective this simple technique is when trying to maintain more natural looking colours in your images. It’s an essential editing technique for portraits and any people shots where natural skin tones are essential. It also works well for landscapes if you don’t want to increase saturation when boosting contrast.
Before & after
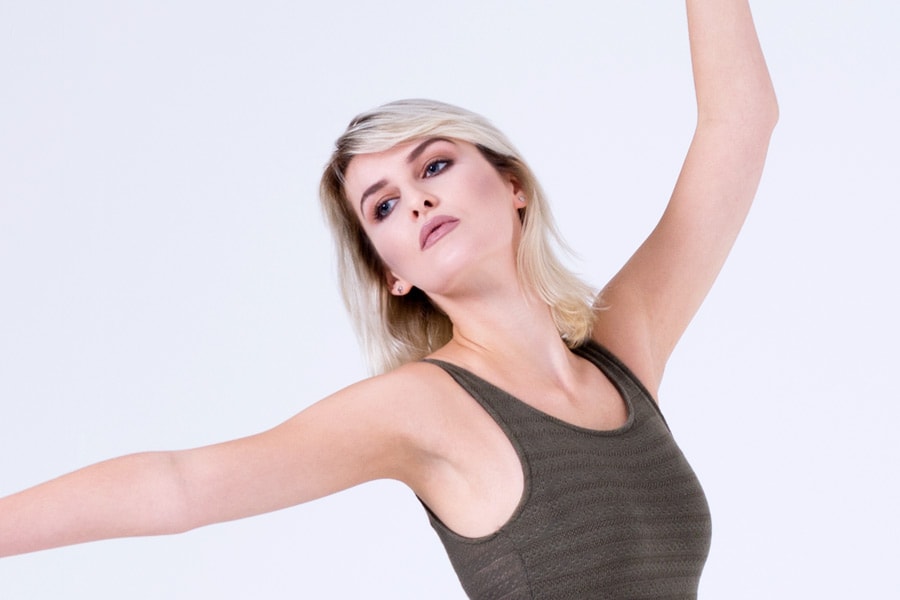
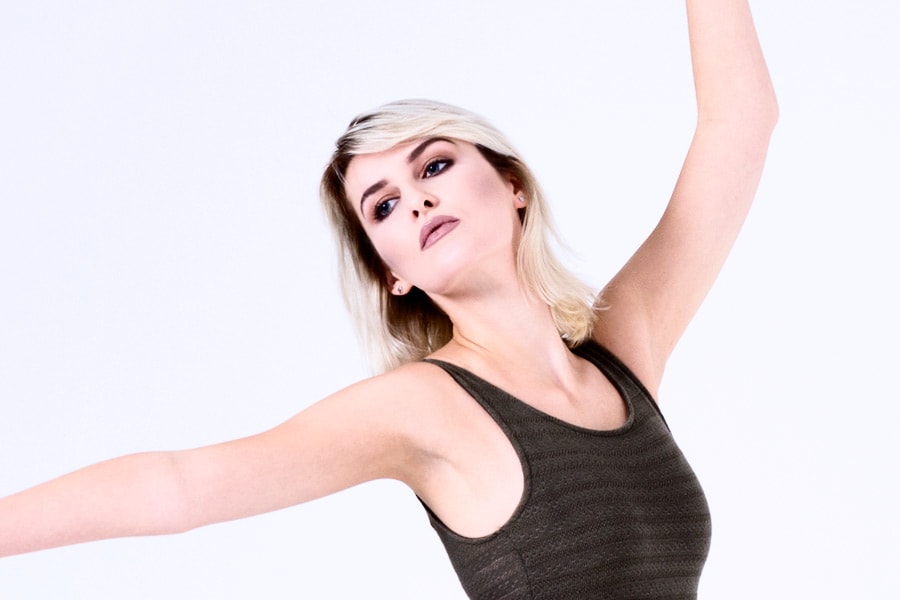
In the images below the before image shows the original image, and the after shows the adjusted version where contrast was added in Curves and the blending mode changed to Luminosity.
Before
After
Check out more of my Photoshop tutorials on my blog, or visit my YouTube channel where you can subscribe to stay up to date with new videos www.youtube.com/jamesabbottphoto
To take a look at more of my portrait photography click here


