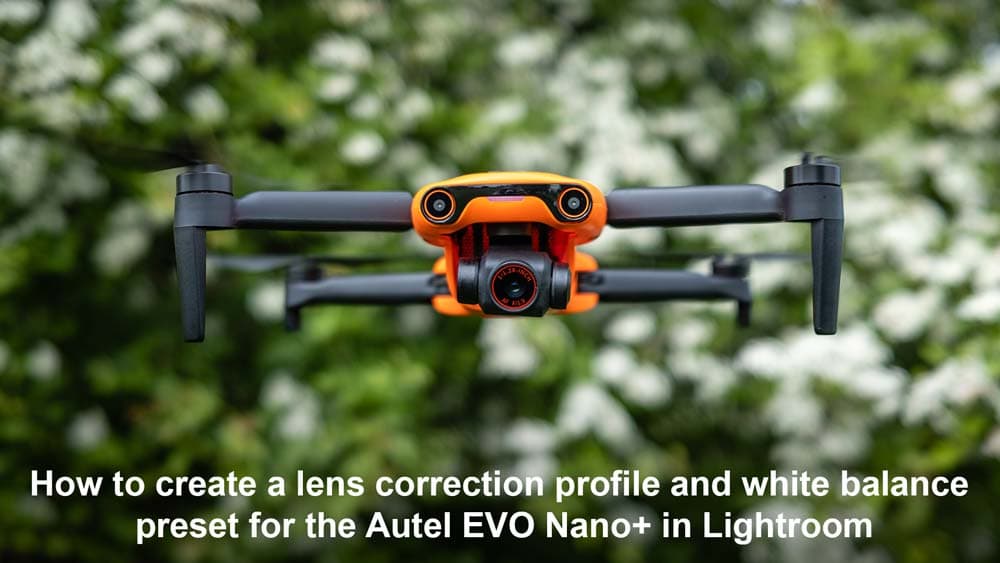
The Autel EVO Nano+ is a fantastic sub 250g drone, and the world’s first in its category to include advanced features including collision avoidance and Quickshots. Image quality is excellent overall. But with no lens profile available in Lightroom to remove the vignette and chromatic aberration, alongside a tendency to capture Raw files with a slightly cold white balance, this tutorial shows you how to create an Autel EVO Nano+ Lens Correction profile and white balance preset in Lightroom.
With every image, the lens corrections we’ll apply will work perfectly every time. But for the white balance correction we’ll create, this will act purely as a starting point for further white balance adjustments. This is simply because almost every image is taken in slightly different light, so when adding this basic adjustment to the preset, it will ultimately get you close to the desired end result.
White balance shooting tip
When shooting with the Autel EVO, it’s best to shoot with the white balance presets selected rather than Auto. Auto white balance produces a cold colour balance, while shooting with presets such as Daylight produce a much improved result but it still needs a little adjustment in Lightroom.
Autel EVO Nano+ lens correction and white balance preset
For more information about the Autel EVO Nano+ and to purchase this or other Autel drones in the UK and US visit https://www.autelpilot.com
To purchase the Autel EVO Nano+ from Amazon click here
Improve your photo editing skills in Adobe Photoshop and Affinity Photo with The Digital Darkroom: The Definitive Guide to Photo Editing
Improve your photography and Photoshop skills with a 1-2-1 training session
If you enjoyed this post you can support this blog on Ko-fi here
Check out more of my Photoshop tutorials on my blog, or visit my YouTube channel where you can subscribe to stay up to date with new videos www.youtube.com/jamesabbottphoto
To take a look at my landscape photography click here

