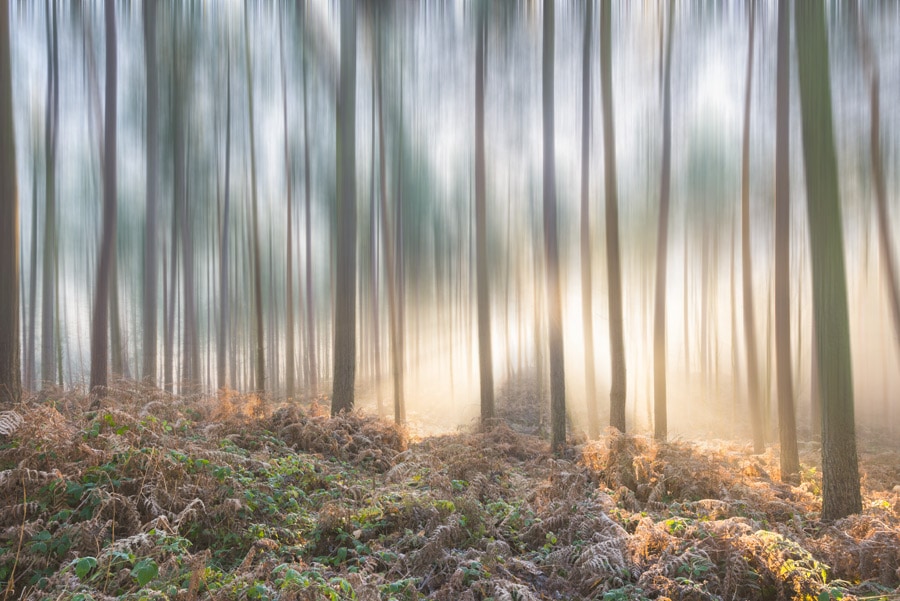
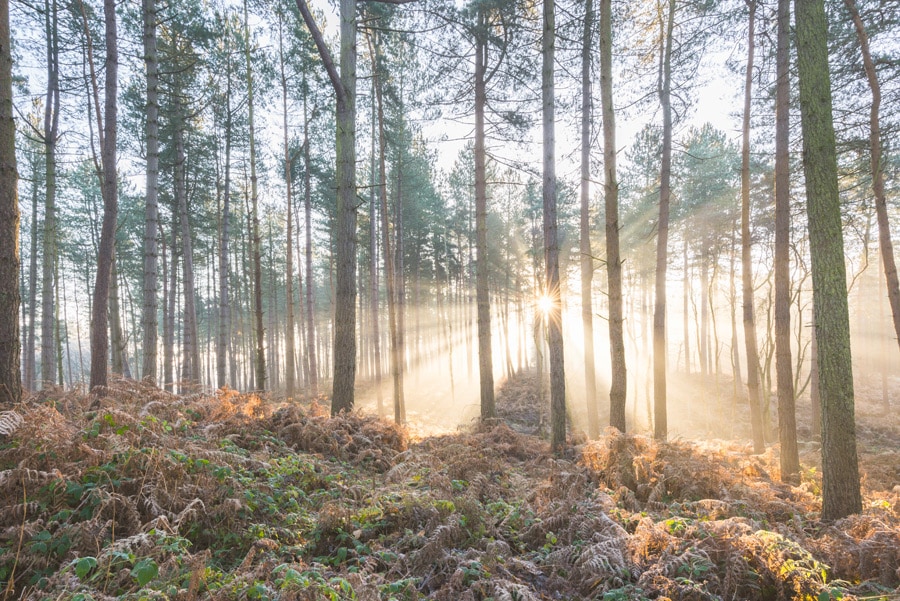
Learn how to apply a surreal motion blur to forest shots in Photoshop. This technique is hugely popular and can be applied in just a few minutes. All you need is a forest image, ideally taken in interesting lighting conditions, and you’re ready to go.
Light is one of the key ingredients of landscape photography, whether that’s an amazing sunrise or sunset, the sun breaking dramatically through thick moody cloud, or even low light on a foggy day. Interesting light will always produce the best results when applying this technique, although flatter lighting can still work and success in this situation depends entirely on the trees themselves.
Create surreal blur in forest shots
This technique is hugely popular because of the way it adds a surreal twist to standard forest and tree shots. When shooting forest images it can pay to shoot with the technique in mind, and one composition that works particularly well is one where a forest path runs through the bottom of the frame. You can then ask a friend to stand on the path to add a human element, or use the camera’s self-timer so you can stand in the shot yourself.
With a figure in the forest landscape it’s important that this part of the frame remains sharp so the figure is clearly visible. Simply start the blur just above the figure. If you’re adding Motion Blur to a scene without a figure the blur can begin anywhere, but just make sure there’s a enough sharpness at the bottom of the frame to create contrast between the sharp and blurred areas of the frame.
Before & after surreal blur
Before
After
By using a combination of the Gradient Tool and the Brush Tool it’s possible to create a gradual transition between the sharp underlying Layer and the Layer that has Motion Blur applied to it. The Gradient Tool allows you to apply an overall graduation while the Brush Tool can be used for fine-tuning the blend.
The Digital Darkroom: The Definitive Guide to Photo Editing
 My new book, The Digital Darkroom: The Definitive Guide to Photo Editing is now available. Photo editing is a vital part of the image-making process. Just as darkroom techniques were important skills to learn in the days of film, a clear understanding of post-processing is now key to getting the most out of your digital pictures. Easy to follow and accessible for readers of all levels of knowledge, The Digital Darkroom is the definitive guide to post-processing for users of Adobe Photoshop and Affinity Photo.
To find out more and order your copy click here
Improve your photography and Photoshop skills with a 1-2-1 training session
If you enjoyed this post you can support this blog on Ko-fi here
Check out more of my Photoshop tutorials on my blog, or visit my YouTube channel where you can subscribe to stay up to date with new videos www.youtube.com/jamesabbottphoto
To take a look at my landscape photography click here

