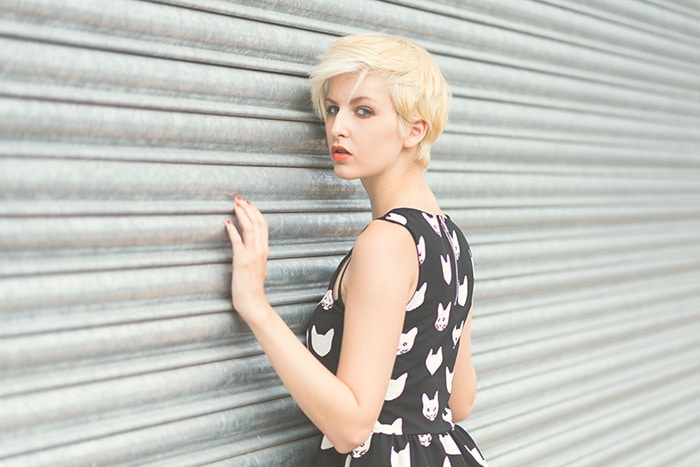
Learn how to create a hazy vintage effect in Photoshop. This simple technique is perfect for portraits because it adds a subtly haze and gentle warmth to your images that makes any image look like it was taken on a summer’s day.
Hazy vintage summer effects are incredibly popular for portrait photography. Using just Levels in Photoshop it’s possible to add a realistic haze, and the colour effect of your choice can be added by delving into the colour channels. In this tutorial we’ll focus on working with the blue channel to add a warm pastel yellow to an image with a naturally cold colour balance.
Hazy vintage effect video tutorial
Levels in Photoshop and Elements are often considered basic adjustment tools, but in reality they’re a powerful option that can provide a quicker and easier, not to mention equally effective result as Curves. The skills of using Photoshop is knowing when one adjustment method is superior to another. And when it comes to creating a hazy vintage effect, it’s the best option by far.
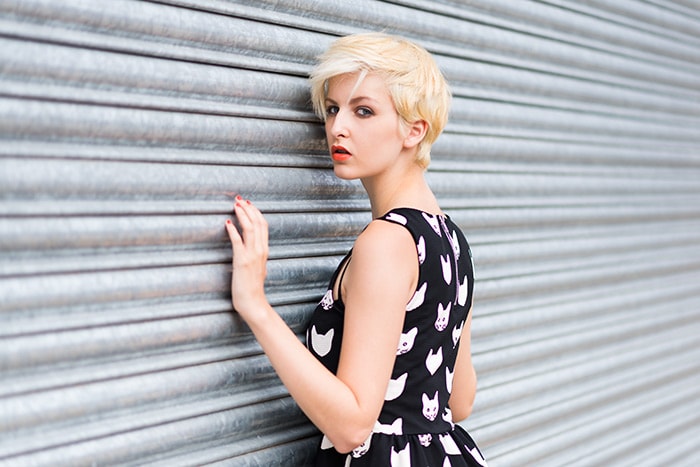
Take a look at the image below to see a before and after of the effect. Using Layer Opacity you can control just how subtle or strong you would like the effect to be. Have fun…
[before-after width=”85%” viewer_position=”center” overlay=”false”]

 [/before-after]
To check out more of my Photoshop video tutorials visit www.youtube.com/jamesabbottphoto