Cinemagraphs have taken the Internet by storm and creating them is a simple process that requires a slightly different approach to shooting regular stills. Quite simply that you have to shoot video from which a still will be taken from during processing. In this part one tutorial you’ll be shown the basics of shooting video. If you would like to jump ahead and learn how to create a cinemagraph in Photoshop click here.
When shooting video with the intention of creating cinemagraphs it’s essential that the camera is locked in position on a tripod. The only movement should be a small element of the scene, whether that’s a model’s hair, blinking eyes or a subtle body movement. For landscape-based cinemagraphs the movement might be clouds in the sky, grass blowing in the wind or moving water.
Step 1 video settings
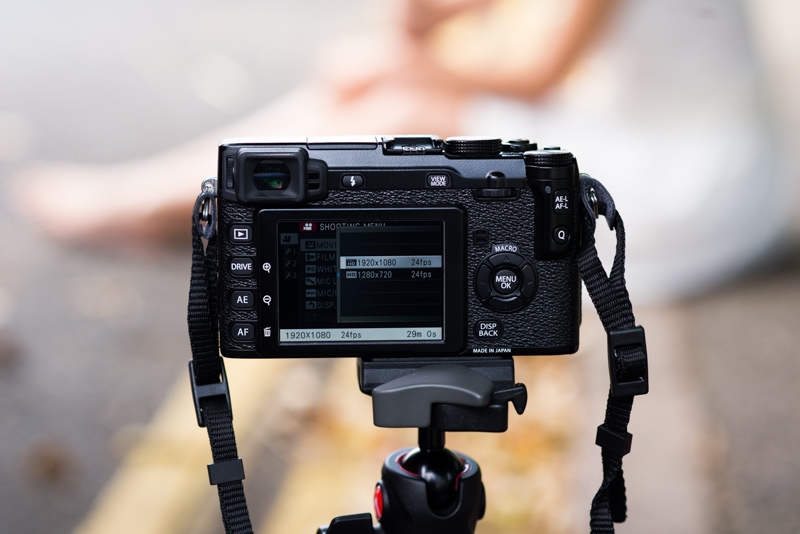
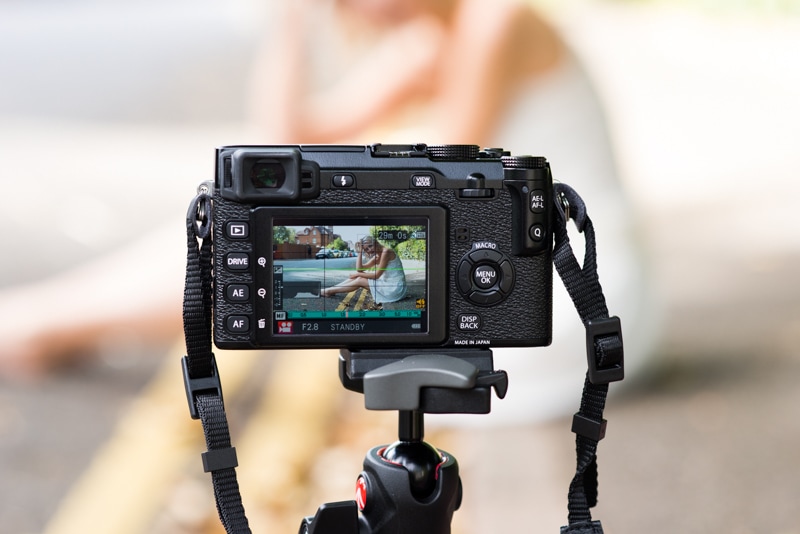
The first thing you need to do is set your camera to shoot video. On some this can be found in the main or quick menus, while on others you simply need to switch on Live View.
Make sure that quality is set to high and Full HD (1920x1080p) at either 24 or 25 frames per second. The reason for shooting at Full HD is that it gives you a larger image than 1280x720p if you need it.
Step 2 camera settings
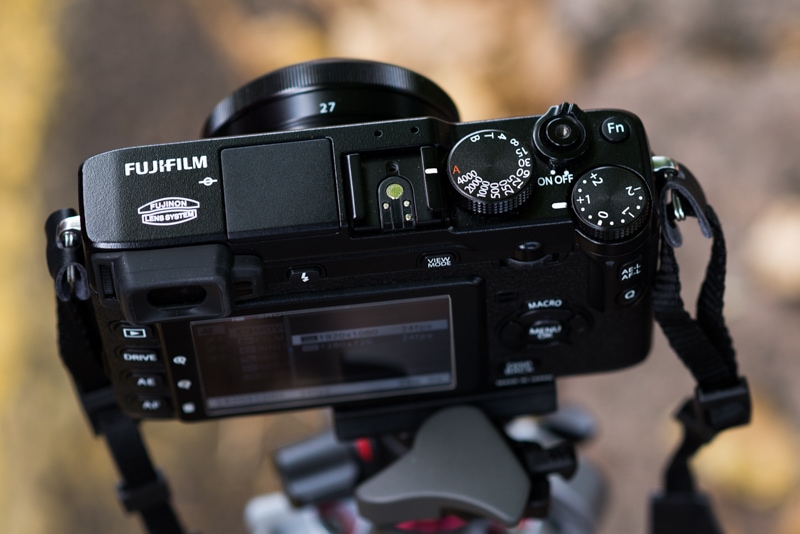
Turn the mode dial so M for manual is selected and set shutter speed to between 1/30 and 1/50sec. If shutter speed is above this movement can look jolty rather than fluid.
If you’re shooting with a fujifilm camera like in the image above, set the shutter speed on the dial. Next select an appropriate aperture and judge exposure on the LCD screen. Set the lowest ISO you can.
Step 3 compose and focus
Set the camera/lens to manual focus because this is much more reliable than autofocus when shooting video. Focus on the subject if you’re shooting a person, or for landscapes focus roughly 1/3 of the distance into the scene to maximise depth-of-field.
Press the record button to capture roughly 10 seconds of video footage. It pays to shoot several pieces of footage so you have a few options to work with at the editing stage.
How to create a cinemagraph in Photoshop
With your footage captured it’s time to load the video file into Photoshop to create the cinemagraph. To learn how to do this take a look at part two – How to create cinemagraphs in Photoshop by clicking here. In this tutorial you will learn two techniques covering the two main types of footage you will come across.
To learn how to create cinemagraphs in Photoshop click here.


