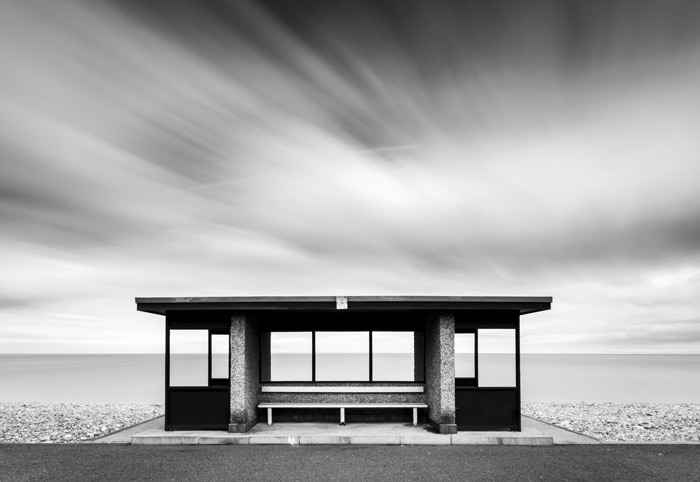
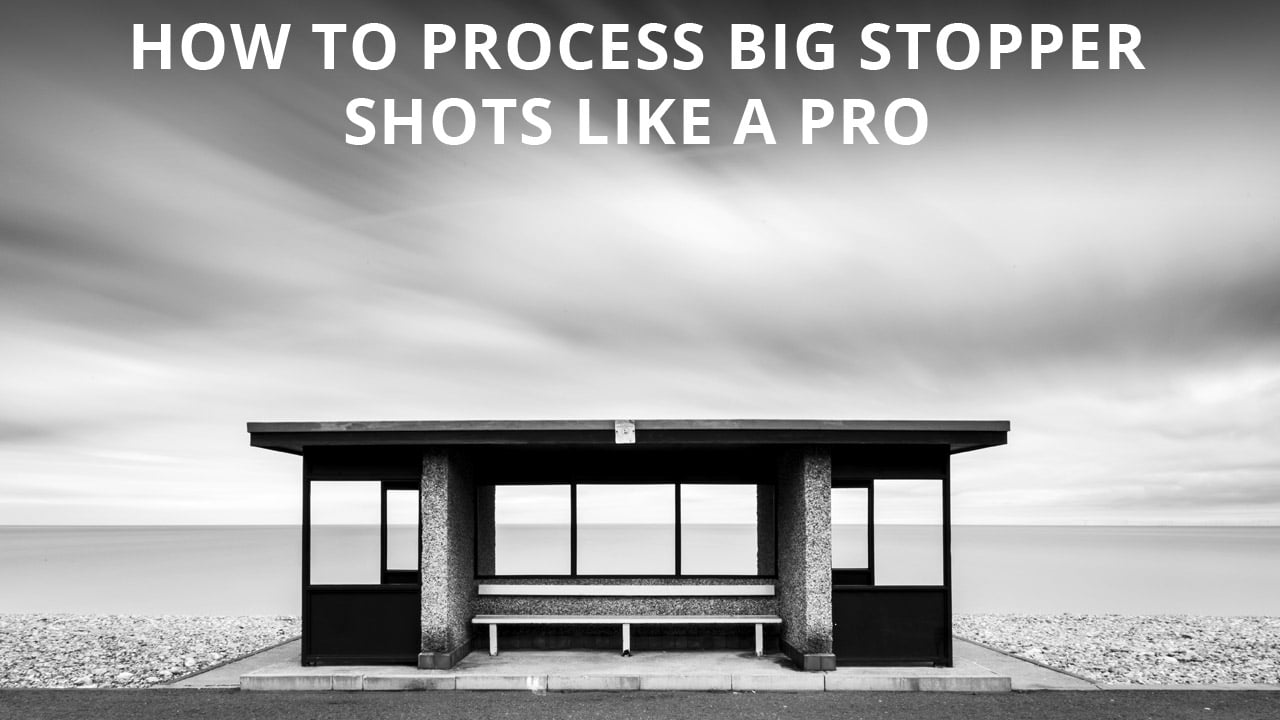
Learn how to process your big stopper shots like a pro in Adobe Camera Raw with this in-depth video tutorial. It covers a number of important editing skills and will help you to make your big stopper images look their best. If you’re not familiar with the term ‘big stopper’ it simply refers to a 10 stop neutral density filter (ND).
Big stopper filters are popular in landscape and architecture photography because they allow photographers to achieve extremely long exposure times. In some cases, exposures can be minutes long, and the effect is ultra blurred moving elements within the scene such as clouds or water. So here’s how to process big stopper shots like a pro…
What you’ll learn…
In the tutorial you’re going to learn a range of skills that will allow you to confidently, and expertly, process your big stopper shots to make them look their best.
To get started you’ll learn how to correct white balance manually for near a perfect colour balance before converting the image to black &white. At this stage we’ll explore several ways of increasing contrast for a nice and punchy black & white image.
With a significant boost in contrast it’s possible to lose detail in shadow and highlight areas, so we’ll also look at how to deal with this problem effectively using localised adjustment tools.
We’ll also delve into the powerful lens and distortion correction tools to resolve a few common issues you might face when shooting these types of images with a wide-angle lens attached to your camera.
How to process B&W big stopper images tutorial
Before and after images
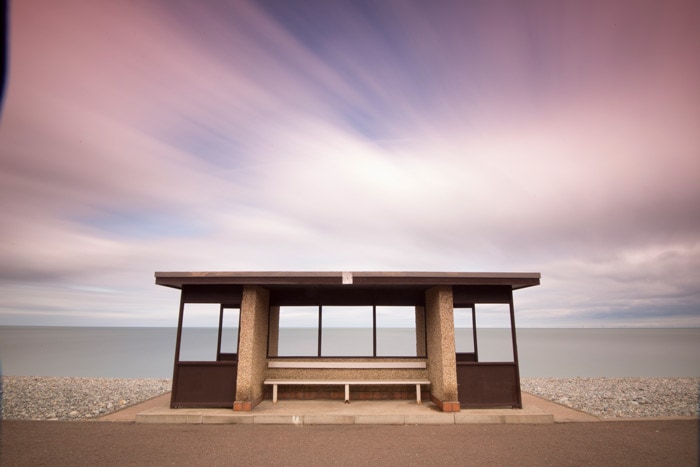
The end result is a world away from the original image and shows just how powerful Adobe Camera Raw can be. Sometimes images may look like they’re a lost cause, but it’s amazing what you can achieve when you know how.
Before
After
 To check out more of my Photoshop video tutorials visit www.youtube.com/jamesabbottphoto


