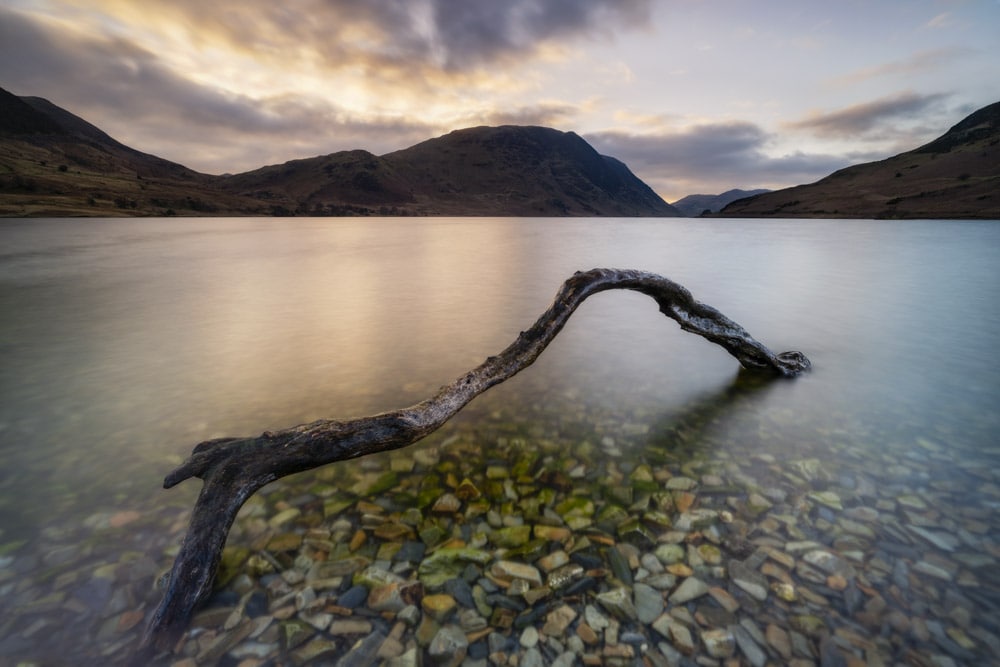
Capturing pin-sharpness throughout a scene – from the foreground to the distant background – is often the photographer’s aim when shooting landscapes. For wider scenes where the foreground interested is a few metres away from the camera you can usually get away with shooting a single image at f/11 – f/16 on a full-frame camera, or f/8 – f/11 on APS-C. With these settings and correct focusing front to back sharpness is possible in a single shot, but what about when the foreground interest is closer to the camera and you need both this and the background in sharp focus? The simple answer is to use focus stacking to achieve sharper landscape images.
The best way to ensure sharpness in situations where the foreground interest is close to the camera and the background is a long way back is to use a technique known as focus stacking. This technique was originally developed for macro photography where a large depth-of-field, and sharp subject from front to back, is extremely difficult to achieve in a single image. In recent years, the technique has made its way to landscape photography and photographers have been creating sharper landscape shots than ever before.
If you would like to learn how to shoot and edit images using this advanced technique, you can take one of my one-to-one workshops here.
Focus Stacking shooting technique
For this technique you generally need to shoot between three and five images of a scene, with each focused at a different point; so, that could be one right at the bottom of the frame, one at the back of the foreground interest, one at the front of the middle ground, one at the back of the middle ground and a final image focused on the background.
You just have to make sure that the depth-of-field in each shot overlaps half of the previous shot and half of the next to guarantee a perfect blend in Photoshop. Basically, this ensures that perfect sharpness is achieved at all distances between the camera and the background.
When to focus stack
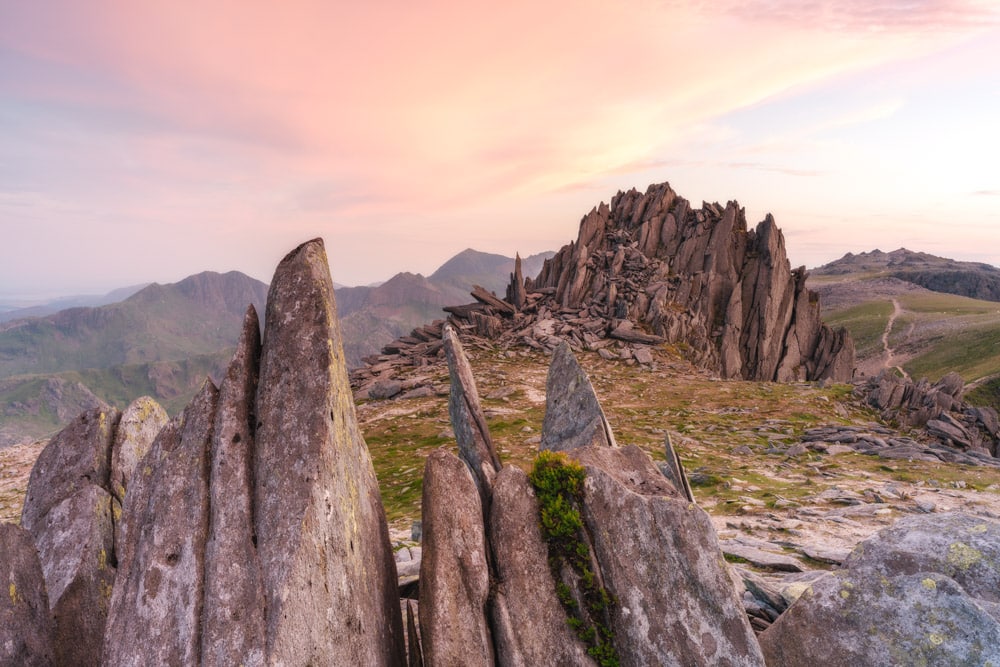
Like all techniques there’s a time and a place for focus stacking – not every landscape image requires it – so, you have to use your judgement to avoid unnecessary editing and a hard drive full of unnecessary image files. The basic test is whether or not the foreground interest is either close to the camera or, that the detail in the foreground and background are equally important and both need to be pin-sharp.
How to shoot focus stacked images
1. Camera settings to use
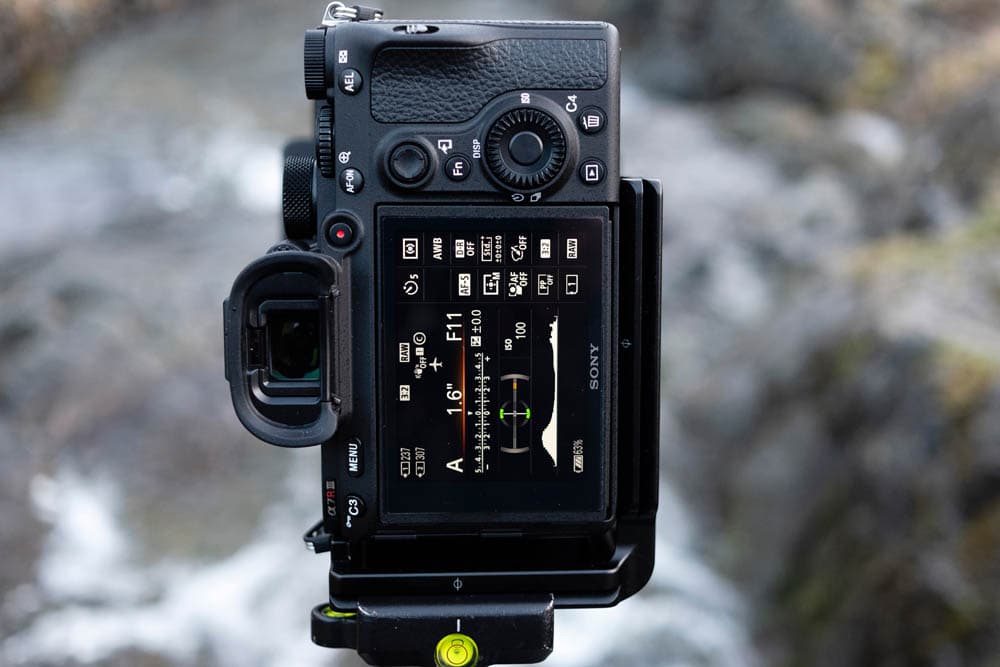
When shooting stacked images everything is exactly the same as shooting a single image of a scene; you use the same settings, ideally aperture-priority or manual, and filters as required. Shoot at either f/8 or f/11 to take advantage of the lens’ sweet spot, and take a number of images at different focus distances from the front to the back of the scene.
2. Focusing made easy
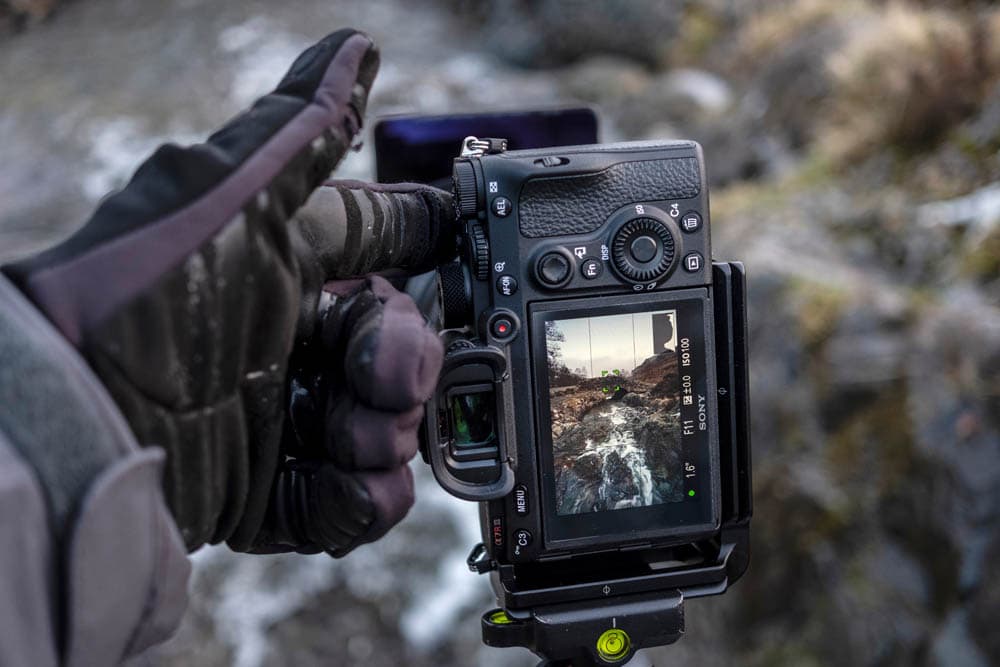
The easiest way to focus is to shoot in Live View using the on-screen focus point to set the point of focus for each shot. Start at the bottom of the frame and move up the screen to capture an image at each of the main distances within the frame. To ensure pin-sharpness throughout, depth-of-field/zone of focus needs to overlap from one shot to the next.
Tips for sharper landscape images
- Only focus stack when you need to as the technique creates more work both in the field and when processing images at the computer.
- Try to imagine the scene in a set of depths; foreground, front middle ground, back middle ground and background. This will help you to select appropriate points of focus.
- Overlapping depth-of-field is all about guesswork, so if you’re not confident shoot five images rather than three and reduce the number as experience grows.
- As your experience grows you’ll be able to apply focus stacking to other techniques such as HDR and when shooting with extreme ND filters for ultra-long exposures.
How to edit focus stacked images
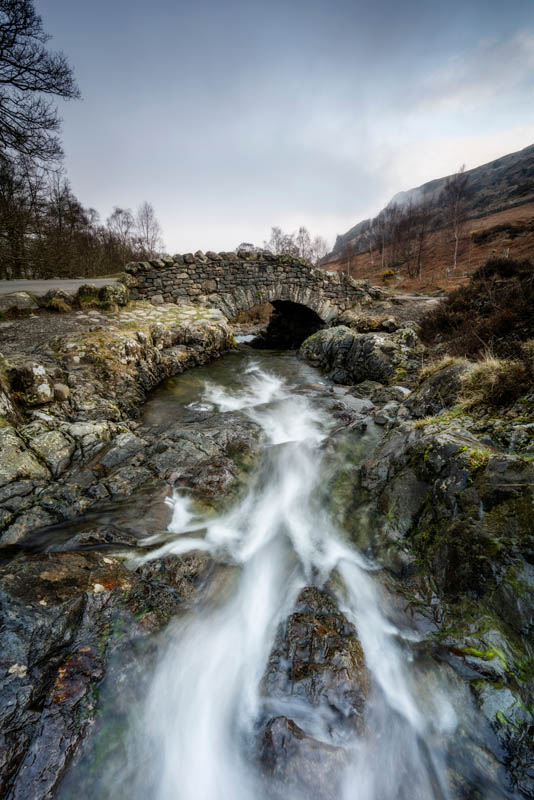
Once you have your individual images with focus set at a different point in each, we need to blend these together so that only the sharp areas are visible in a single image. When you put it like this the process sounds extremely complex, but Photoshop automates each step of the process with highly effective and easy to achieve results. There are however occasions where Photoshop can’t blend images together properly, creating blobs of blur in different areas or subject mismatches, and this is most often because sharpness/depth-of-field didn’t overlap from one shot to another, or that there was too much movement in the scene.
In most situations it’s possible to fix these issues using cloning, or going as far as manually masking and blending the Layers together. The latter is a much more complicated process and requires a solid understanding of Layer Masks and Layer hierarchy on the Layers panel. The best way to avoid these problems is to make sure that individual images have overlapping depth-of-field, and only shoot focus stacked images when movement in the scene is minimal. Streams and waves are usually fine, but windswept foliage is more problematic.
1. Sync Raw settings
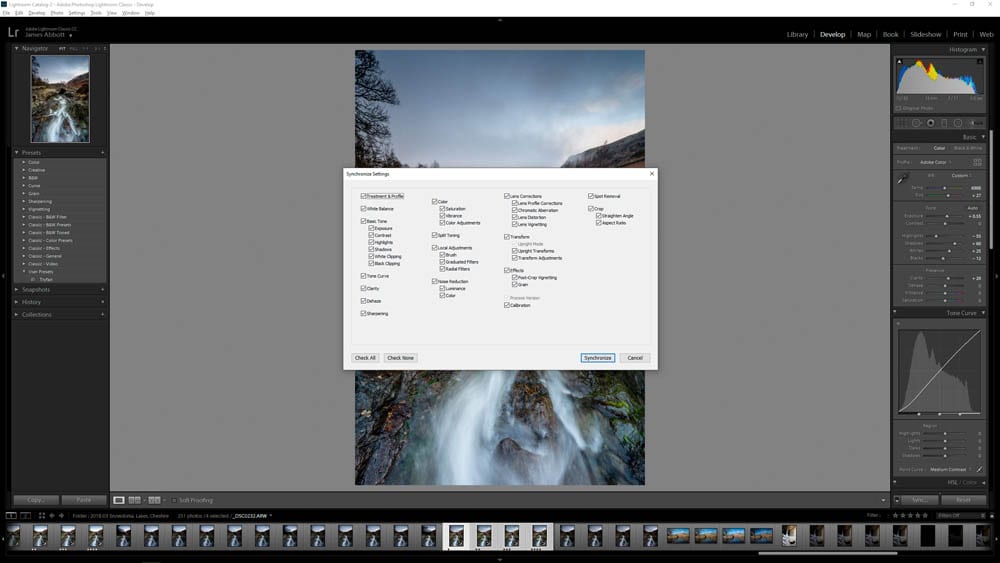
In Lightroom, process the first image in the stacking set applying all necessary adjustments. Once finished, hold down the Shift key and left mouse click on the last image in the set. Next press the Synchronize button and when the dialogue window opens click on Check All and then Synchronise. This will apply identical adjustments to all images.
2. Export images
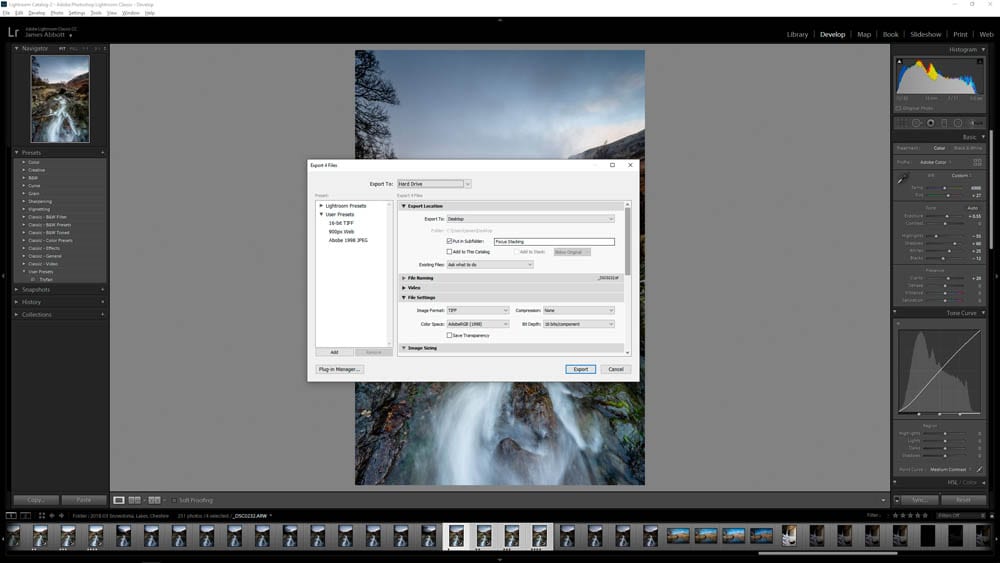
With all the images still selected, press Ctrl+Shift+E to open the Export dialogue window. Under Export To, select Desktop, and Check Put in Subfolder. Next, under File Settings select the desired file format whether that’s JPEG or TIFF. My preferred settings are 16-bit TIFF with AdobeRGB (1998) for Color Space. For ‘After Export’ make sure Do Nothing is selected.
3. Load files as Layers
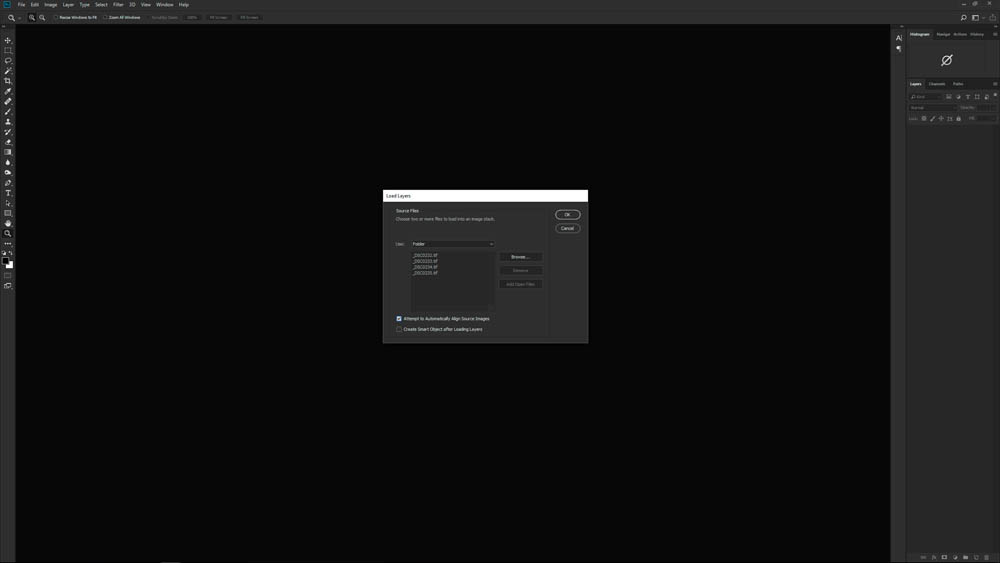
Open Photoshop and go to File>Scripts>Load Files into Stack, and when the dialogue window opens set Use to Folder. Next click on Browse and locate the folder you created in the previous step and then make sure Attempt to Automatically Align Source Images is checked before clicking on OK. Photoshop will now stack the images as Layers and align them.
4. Auto-Blend Layers
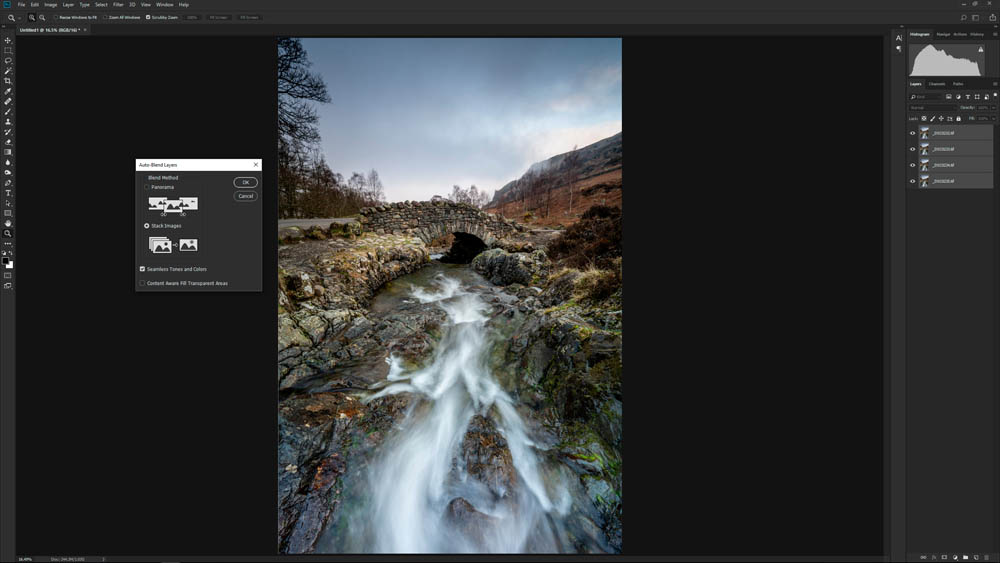
On the Layers panel, the top Layer will be active and highlighted. Hold down the Shift key and left mouse click on the bottom Layer so all are selected. Next, got to Edit>Auto-Blend Layers and Photoshop will automatically identify Stack Images. Make sure that Seamless Tones and Colors is checked, but make sure that Content Aware Fill Transparent Areas is unchecked.
5. Check for errors
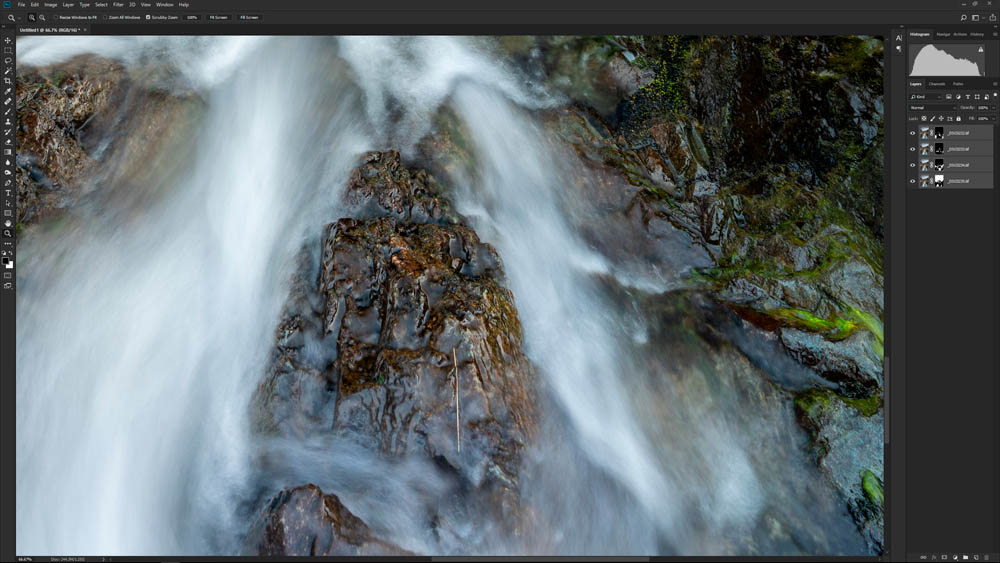
Zoom into the image and move around looking for any anomalies. There are times when Photoshop fails to blend images successfully and you may see areas of blur or misalignment of elements within the scene. If this occurs you can often create a New Layer and clone out the errors using the Healing Brush and Clone Stamp Tool.
6. Crop and Flatten
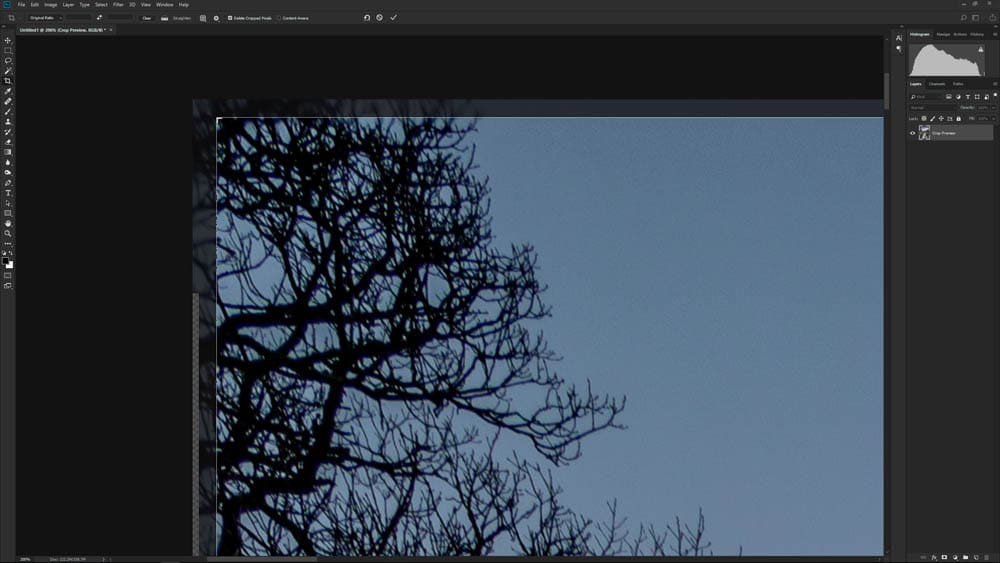
Flatten the Layers by clicking on the menu represented by four horizontal lines at the top right of the Layers panel. This will reduce the overall file size. Now apply any additional editing and adjustments, and when all editing has been completed you can crop out the border and blur at the edges of the frame that were created during image alignment.
If you would like to learn how to shoot and edit landscape images using this advanced technique, you can take one of my one-to-one workshops here.
To see a video tutorial showing how to edit focus stacked images click here.
To check out my landscape photography click here
Take a look at my YouTube channel for editing tutorials here
