Learn how to apply the Orton Effect in Affinity Photo to achieve the best effect possible as well as smaller file sizes. By combining the Layers created for the effect into a single Layer file sizes can remain small when saving images as TIFFs or in other formats that support Layers. But most importantly, this approach avoids crushing shadow detail to maintain the most natural effect possible.
The Orton Effect works well for all sorts of images, but it’s mostly used in landscape photography to enhance the sense of atmosphere in the scene. By combining blurred and sharp Layers, the Orton Effect adds a slightly blurred quality to images while maintaining perfect sharpness.
How to apply the Orton Effect in Affinity Photo
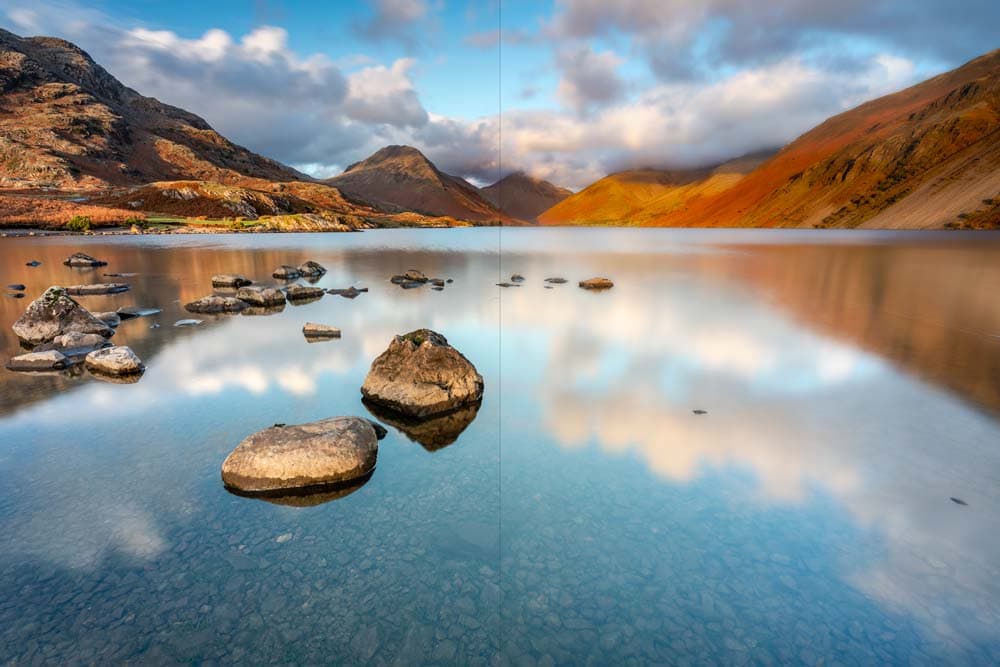
Orton Effect before & after images
In this image you can see the before on the left and the effect at 75% on the right. In normal situations it’s best to apply the Orton Effect between 20-35% depending on the image, but here it has been set higher to make it easier to see the before and after.
The Digital Darkroom: The Definitive Guide to Photo Editing
 My book, The Digital Darkroom: The Definitive Guide to Photo Editing is now available. Photo editing is a vital part of the image-making process. Just as darkroom techniques were important skills to learn in the days of film, a clear understanding of post-processing is now key to getting the most out of your digital pictures. Easy to follow and accessible for readers of all levels of knowledge, The Digital Darkroom is the definitive guide to post-processing for users of Adobe Photoshop and Affinity Photo.
To find out more and order your copy click here
Improve your photography and Photoshop skills with a 1-2-1 training session
If you enjoyed this post you can support this blog on Ko-fi here
Check out more of my Photoshop tutorials on my blog, or visit my YouTube channel where you can subscribe to stay up to date with new videos www.youtube.com/jamesabbottphoto
To take a look at my landscape photography click here

