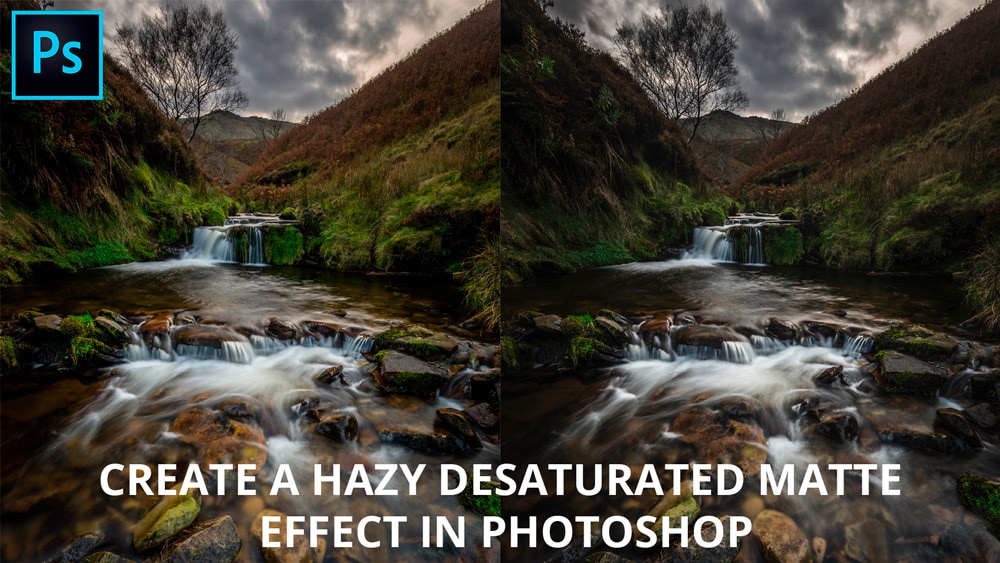
How to create a hazy desaturated matte effect in Photoshop. Learn two techniques to add a matte effect and haze – the effects can be used individually or together, and work well with all images. Portraits and landscapes in particular benefit from these awesome techniques. We’ll also take a quick look at one of the most effective desaturation techniques because it works perfectly with a hazy matte style.
desaturation
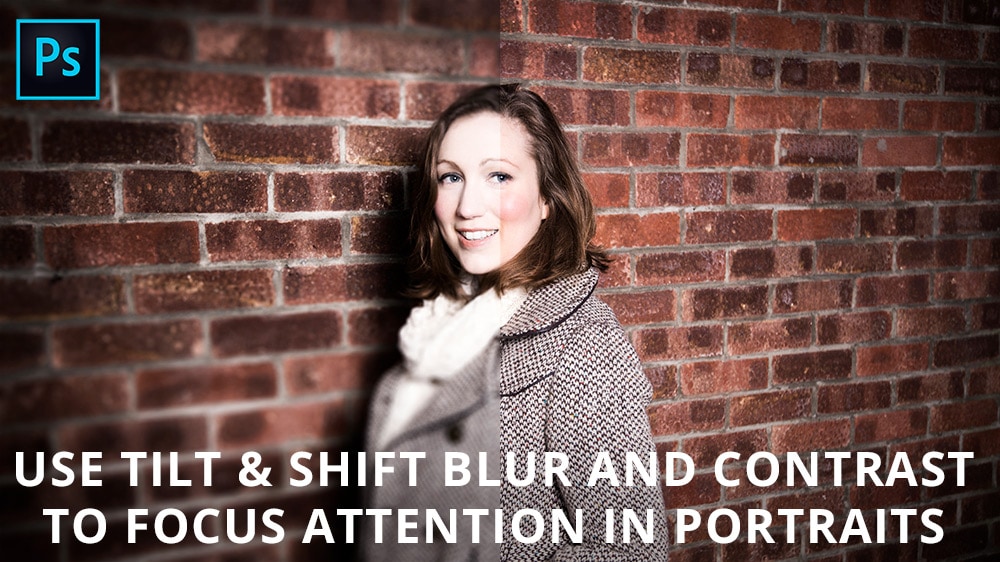
Use blur and contrast to focus attention in portraits
Learn how to focus attention in portraits using a tilt & shift style of blur, and also how to create a high contrast, diffuse glow desaturation technique that produces a punchy colour and tone effect. You can apply the whole technique in Photoshop, or simple use one of the individual smaller effects used within the main technique – it’s entirely up to you.
Bleach bypass effect in Photoshop
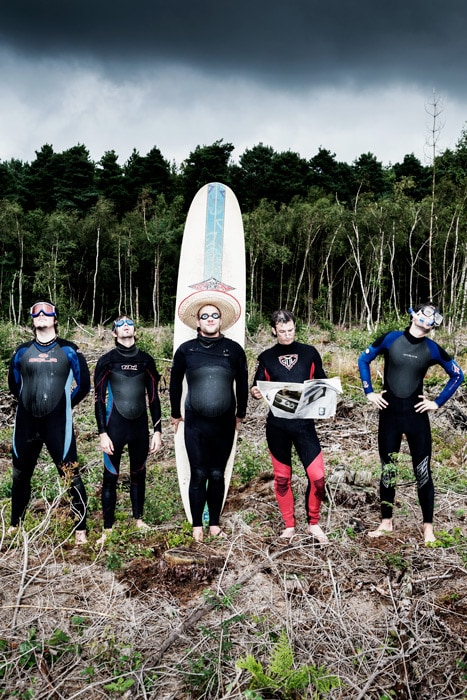
Learn how to apply a stylish bleach bypass effect in Photoshop. This effect desaturates images, boosts contrast and highlights texture in a similar way, but different, to Clarity in Adobe Camera Raw and Lightroom. The bleach bypass technique comes from the days of film. It was achieved during transparency film processing the bleach stage was missed out, or bypassed. Here’s how to apply a bleach bypass effect in Photoshop.
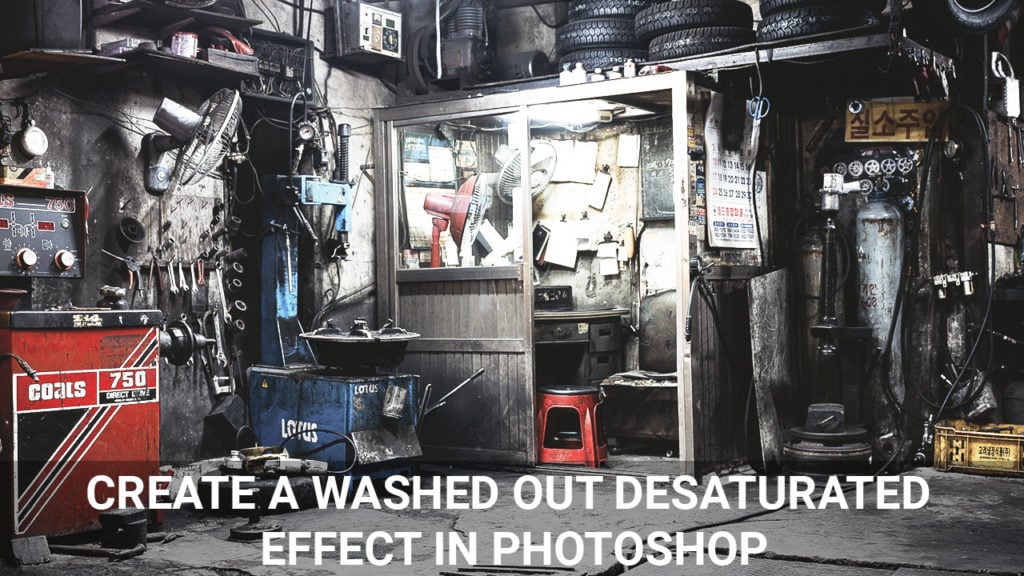
Create a washed out desaturated effect in Photoshop

Learn how to create a filmic washed out and desaturated effect in Photoshop using Gradient Maps and Curves. It takes less than a minute to apply the technique, and is a fantastic effect for a wide range of images. The overall effect is similar to, but at the same time completely different to bleach bypass.


