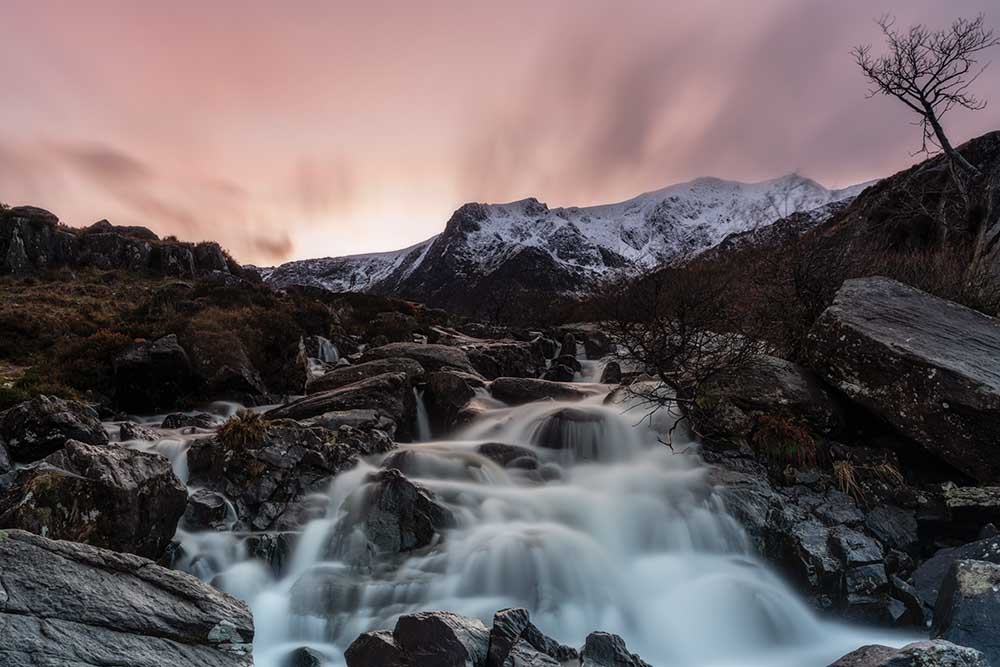
Discover an advanced method of applying the Orton effect that keeps file sizes small and image quality at its best. I developed this refined technique myself in response to upgrading to a higher resolution camera, which meant the original technique created huge file sizes when saving layered images as TIFFs. And also, to deal with the problem of crushed shadows. This version solves both of these issues for the best results possible, and the tutorial works for Both Photoshop and Affinity Photo.
The idea of enhancing detail by adding blur may be one of the greatest paradoxes in photography, but the Orton effect has long been a favourite with landscape photographers because of the way it helps to add atmosphere to images. This is achieved through the balance of blur and sharpness, where fine detail is maintained but the harshness of ultra-sharp detail is reduced. See below for a video tutorial and a written step-by-step tutorial.
The history of the technique
The Orton Effect was created by professional photographer Michael Orton. His original technique used two transparencies that were sandwiched together during printing; one was underexposed and sharp, while the other was overexposed and just out of focus.
The result was an image that was both sharp and blurry with a dreamlike quality, but the advantage with digital photography is that you can apply it to any image – you’re not limited to making a decision at the point of capture – and you have much more control over the strength of the effect. The key to success is to use the effect so subtly that viewers can tell that it has been applied.
Orton effect video tutorial
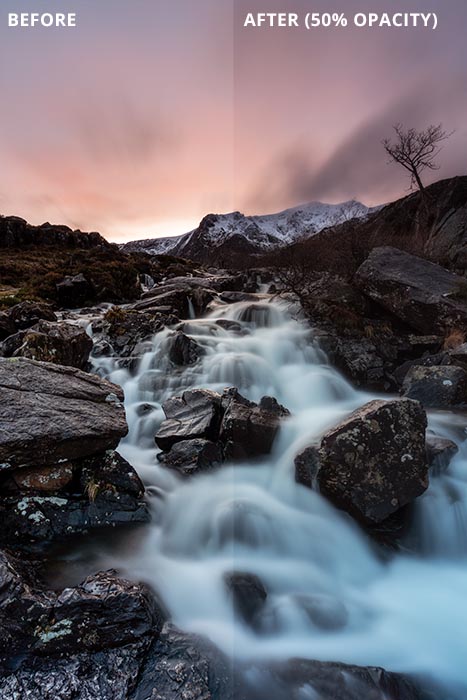
Orton effect before & after
Orton effect Photoshop tutorial
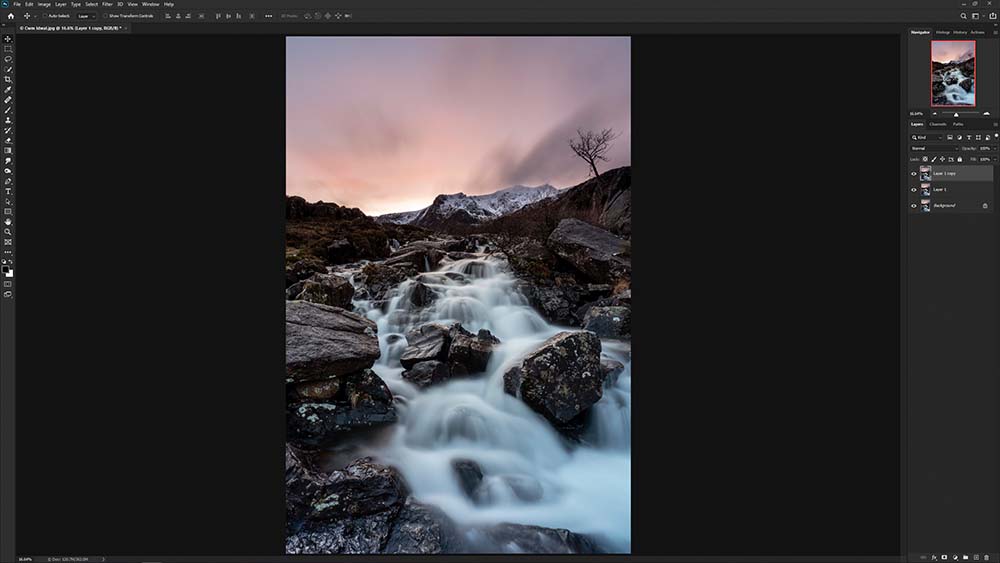
1. Duplicate Layer
If you’re working with an image with just a Background Layer, simply press Ctrl+J twice to make two copies of this Layer. If you have Adjustment Layers etc. make sure the top Layer in the stack is selected and hold down Ctrl+Shift+Alt+E to merge all visible Layers into a new Layer at the top of the stack before pressing Ctrl+J to copy the merged Layer. These Layers will form the basis of the technique.
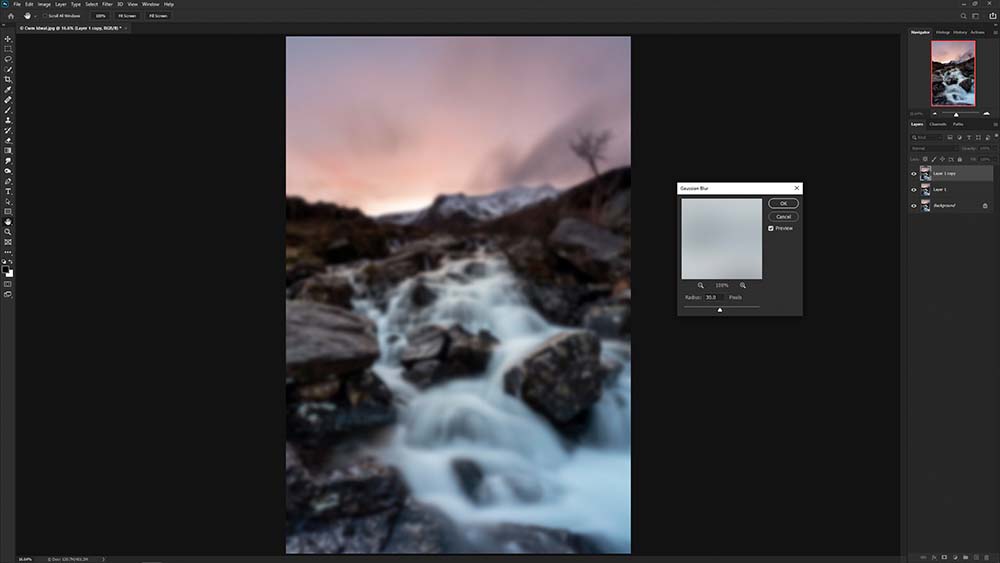
2. Introduce blur
The top Layer should be active, so go to Filter>Blur>Guassian Blur and set Radius to between 20-30 Pixels. Personal taste will to some degree always dictate the exact amount, and you may choose to set a lesser or greater amount, but generally speaking the higher resolution the camera used the more blur that’s needed. For this image Radius was set to 30 Pixels before hitting OK to apply the blur.

3. Set Blending mode
With the top blurred Layer still active, go to the dropdown at the top of the Layers panel that’s set to Normal by default and set the Blending mode to Multiply. Click on the Layer below and set the Blending mode to Screen before clicking back on the top Layer to make it active. At this stage, the image will show the full blur effect which is too strong, and it will also be much darker than it was originally.
4. Lift shadows and lighten
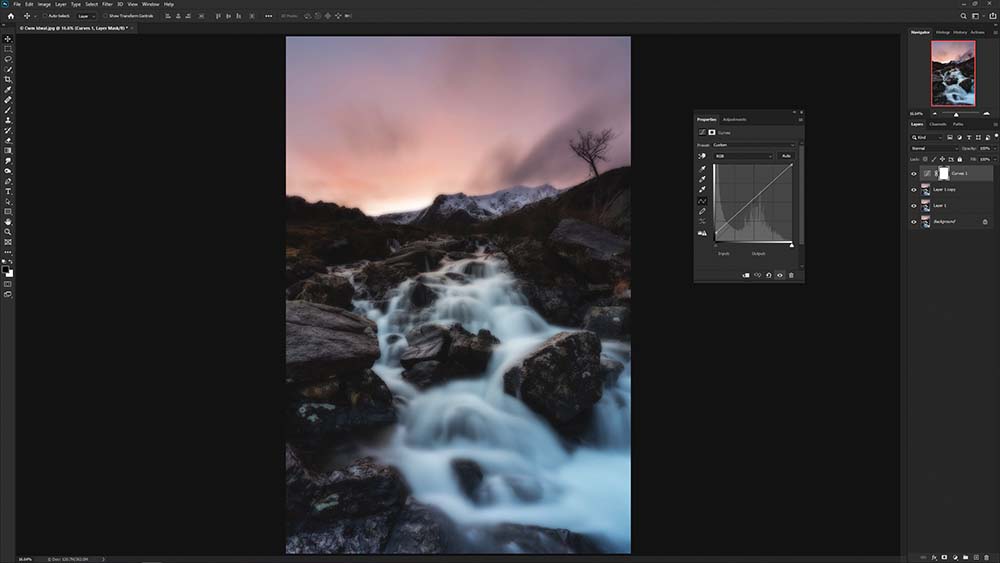
Click on the top Layer to make it active, then on the Create new fill or adjustment layer icon which is a half-black half-white circle at the bottom of the Layers panel and select Curves. Lift the point on the bottom left corner up until Input is set to 0 and Output is at 25. This will stop shadows from being crushed in the final image, which can be a problem with this technique. Once finished, hit OK.
5. Duplicate and delete
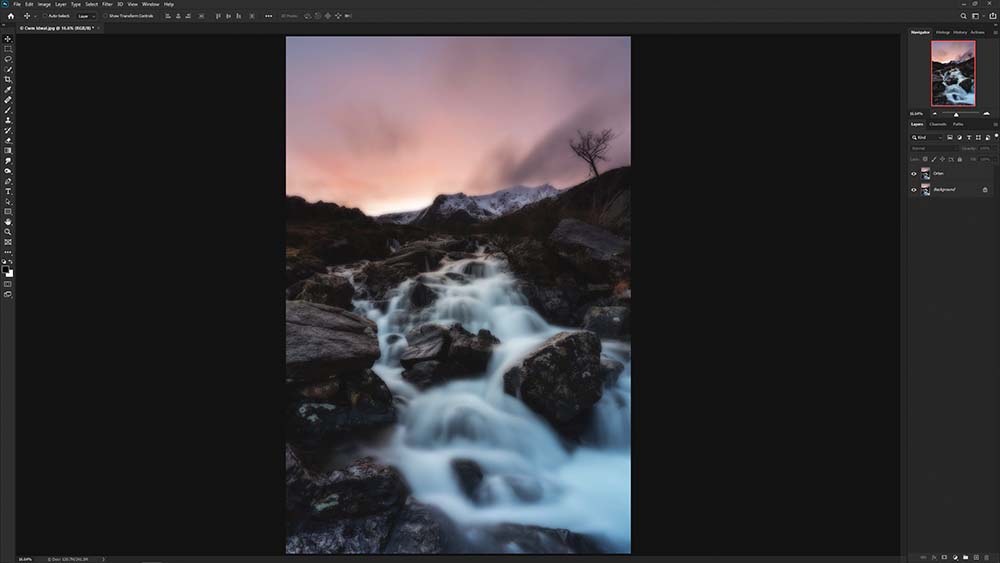
With the Curves Layer at the top of the stack still active, press Ctrl+Shift+Alt+E to merge visible Layers into a new Layer at the top of the stack. Double click the Layer and rename it to ‘Orton’. Next, left mouse click on the Layer below, hold Shift and click on the first Background copy you created before dragging the three Layers to the trash to delete them. The Orton Layer holds the effect now.

6. Refine the effect
At this stage, the overall effect will be far too strong and the image looks, at best, like the blur applied is a mistake. Simply select the Orton Layer and reduce Opacity to between 20-40%. For most images 20-25% is perfect but there are, of course, times where you may find that working outside of these perimeters produces the best result. The main thing is to remember that less is more with this effect.
The Digital Darkroom: The Definitive Guide to Photo Editing
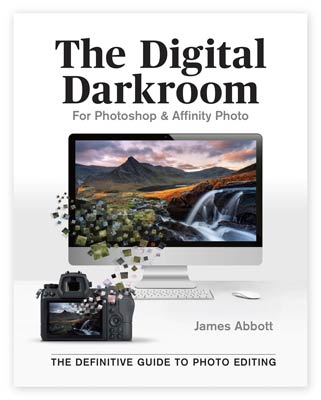 My new book, The Digital Darkroom: The Definitive Guide to Photo Editing is now available. Photo editing is a vital part of the image-making process. Just as darkroom techniques were important skills to learn in the days of film, a clear understanding of post-processing is now key to getting the most out of your digital pictures. Easy to follow and accessible for readers of all levels of knowledge, The Digital Darkroom is the definitive guide to post-processing for users of Adobe Photoshop and Affinity Photo.
To find out more and order your copy click here
Improve your photography and Photoshop skills with a 1-2-1 training session
If you enjoyed this post you can support this blog on Ko-fi here
Check out more of my Photoshop tutorials on my blog, or visit my YouTube channel where you can subscribe to stay up to date with new videos www.youtube.com/jamesabbottphoto
To take a look at my landscape photography click here


