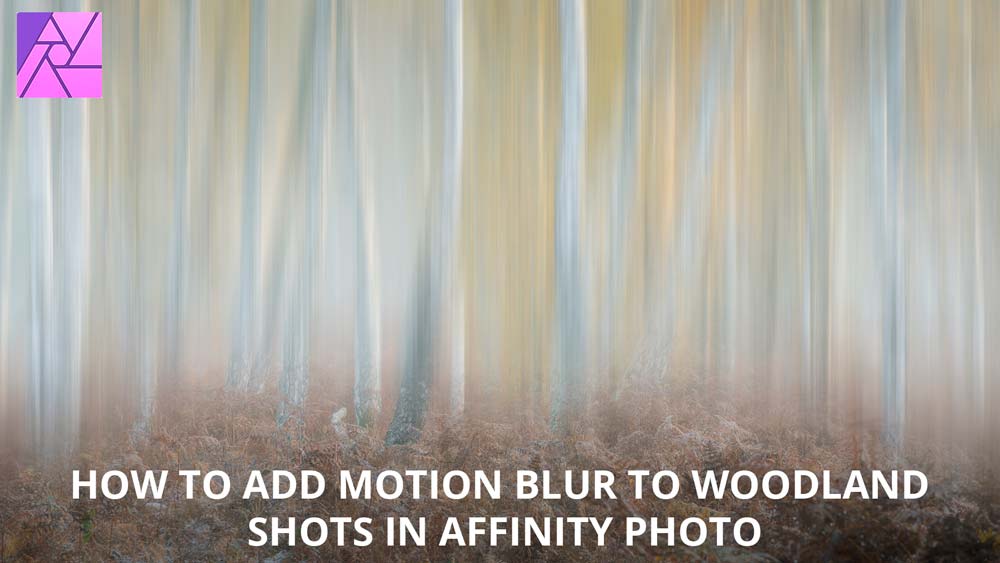
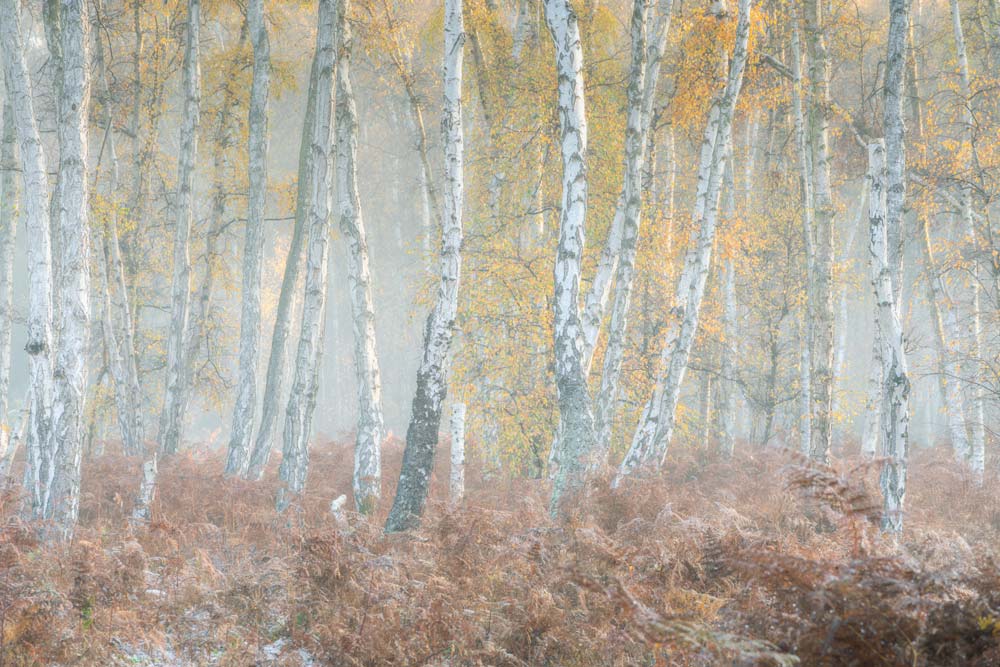
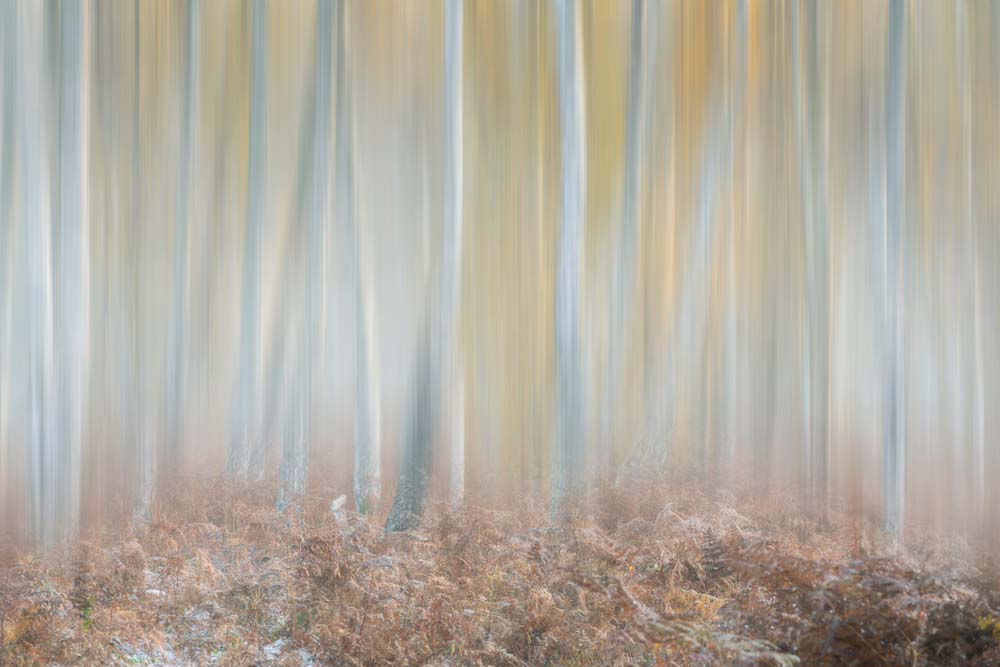
Woodland photography is both a challenging and an extremely rewarding subject, and there are several shooting and editing techniques that are commonly used with this type of photography; one editing technique that has grown hugely in popularity over the last few years is to add motion blur to woodland shots to create a surreal kind of vertical panning effect where sharpness and blur collide. So, here’s how to creatively add motion blur in
Affinity Photo.
This effect will work with most tree images, but is always more effective the straighter the trees in the scene are. You can also choose from a complete row of trees like the image used here, or even a woodland scene with a path running through it.
How to add motion blur in Affinity Photo
Before and after
The effect is incredibly easy to apply using Live Filters, and by using masking the bur area can be controlled to help add a sense of depth to the image.
The Digital Darkroom: The Definitive Guide to Photo Editing
 My new book, The Digital Darkroom: The Definitive Guide to Photo Editing is now available. Photo editing is a vital part of the image-making process. Just as darkroom techniques were important skills to learn in the days of film, a clear understanding of post-processing is now key to getting the most out of your digital pictures. Easy to follow and accessible for readers of all levels of knowledge, The Digital Darkroom is the definitive guide to post-processing for users of Adobe Photoshop and Affinity Photo.
To find out more and order your copy click here
Improve your Photoshop and Lightroom skills with a 1-2-1 training session.
If you enjoyed this post you can support this blog on Ko-fi here
Check out more of my Photoshop tutorials on my blog, or visit my YouTube channel where you can subscribe to stay up to date with new videos www.youtube.com/jamesabbottphoto
To take a look at my landscape photography click here


