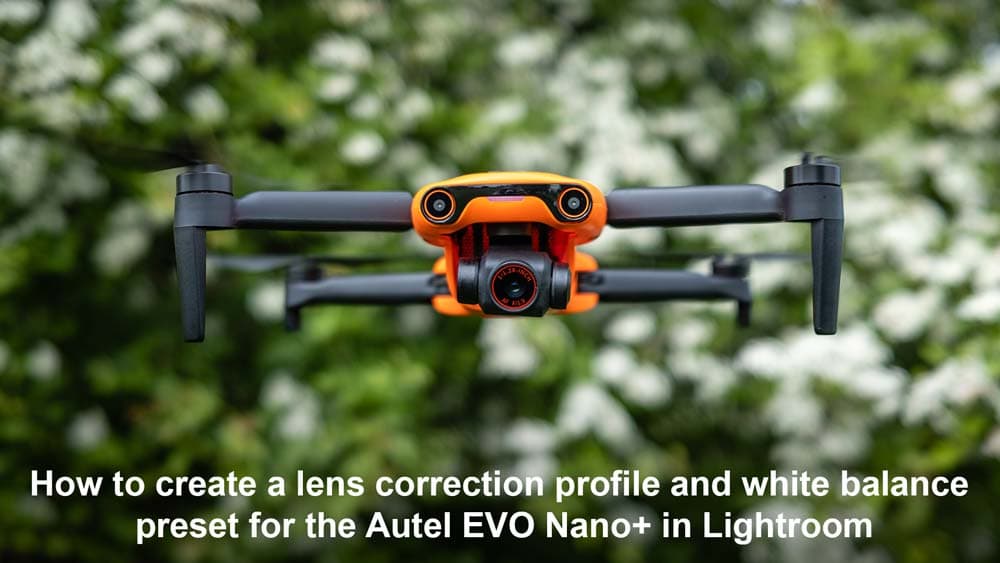
The Autel EVO Nano+ is a fantastic sub 250g drone, and the world’s first in its category to include advanced features including collision avoidance and Quickshots. Image quality is excellent overall. But with no lens profile available in Lightroom to remove the vignette and chromatic aberration, alongside a tendency to capture Raw files with a slightly cold white balance, this tutorial shows you how to create an Autel EVO Nano+ Lens Correction profile and white balance preset in Lightroom.
Lightroom
How to process HDR images in Lightroom
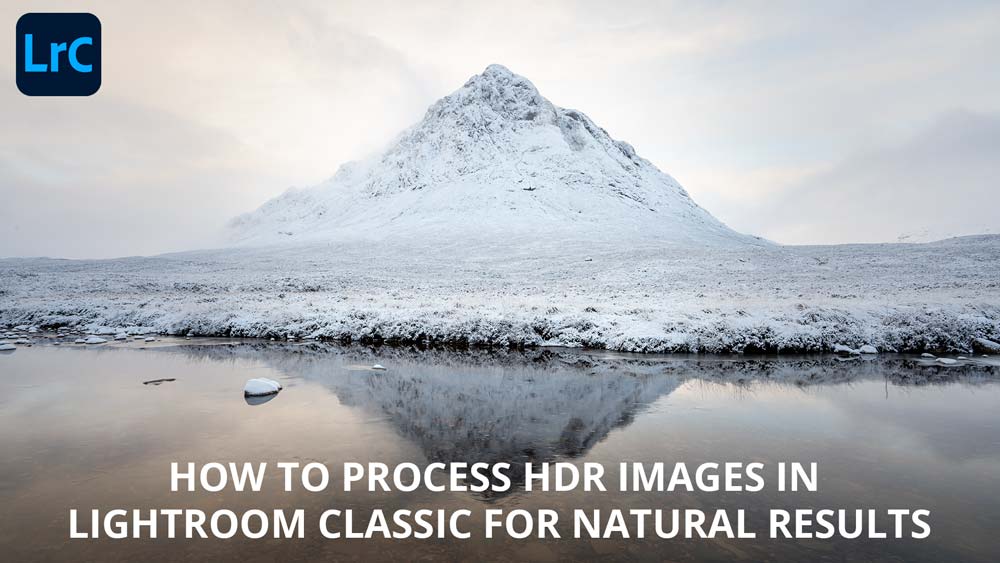
Learn how to process HDR images in Lightroom Classic for natural results. HDR photography is a contentious subject because many photographers process images poorly resulting in mushy mid-tones and halos along high contrast subject edges. But this approach is so natural-looking it’s almost impossible to tell that the technique has been used.
Fujifilm Film Simulation Modes for Raw files in Lightroom
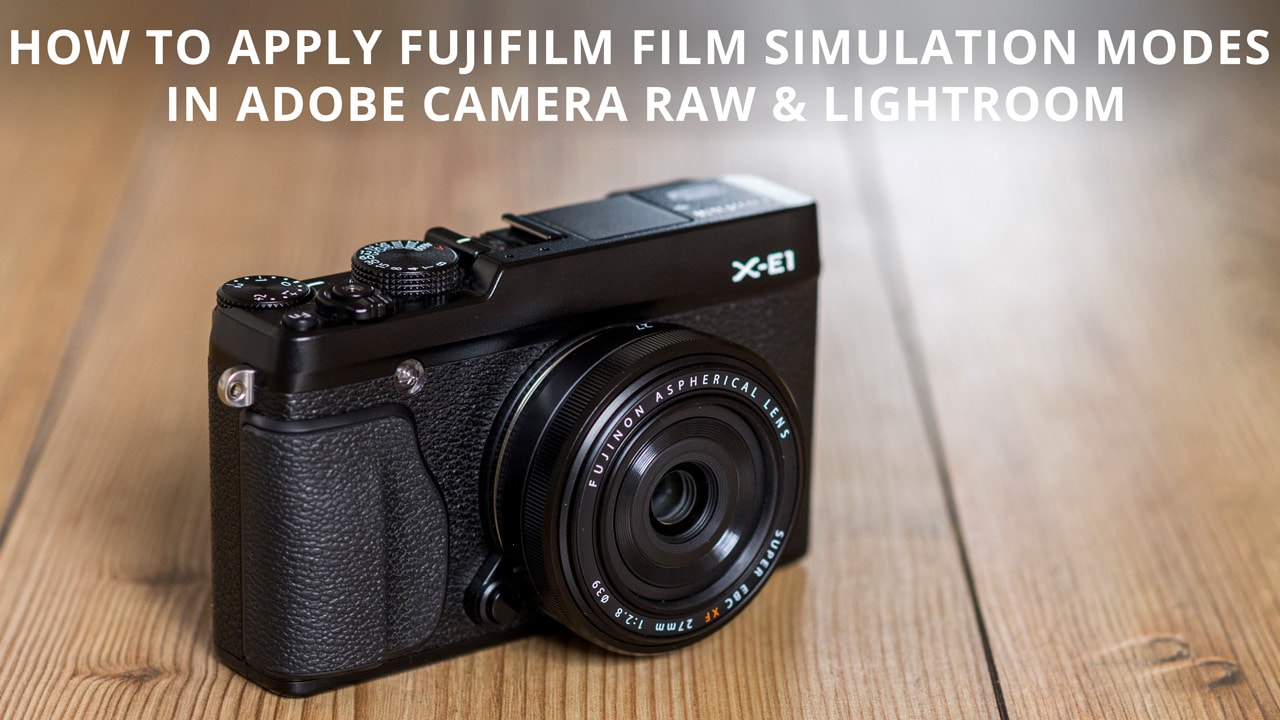
One of the great things about Fujifilm cameras is the ability to apply Film Simulation Modes to your JPEGs in-camera. These are a selection of settings that simulate the look and feel of some of Fujifilm’s best loved films including Provia, Velvia, Astia and many more.
Raw files obviously don’t carry the film simulation data, so what happens when you shoot Raw? The simple answer, if you process your shots using Adobe Camera Raw or Lightroom, is that you can apply them as a profile during processing. Here’s are two tutorials to show you how o apply Fujifilm Film Simulation Modes…
How to shoot studio silhouette portraits
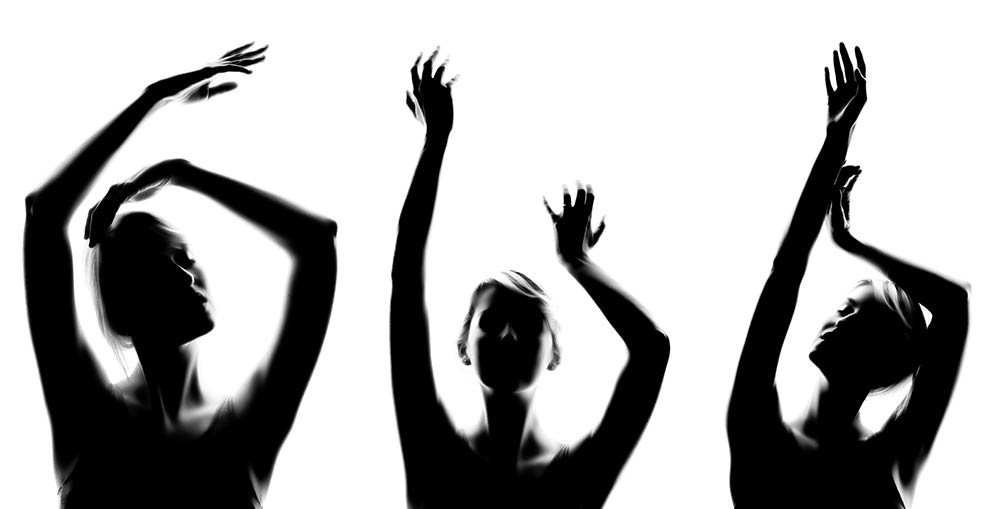
Learn how to shoot graphic silhouette portraits in a photographic studio or at home using this incredibly easy technique. Silhouettes generally focus purely on shape, whereas this approach aims to capture a small amount of detail in the model’s face for a much more interesting result.
Online Lightroom & Photoshop workshops
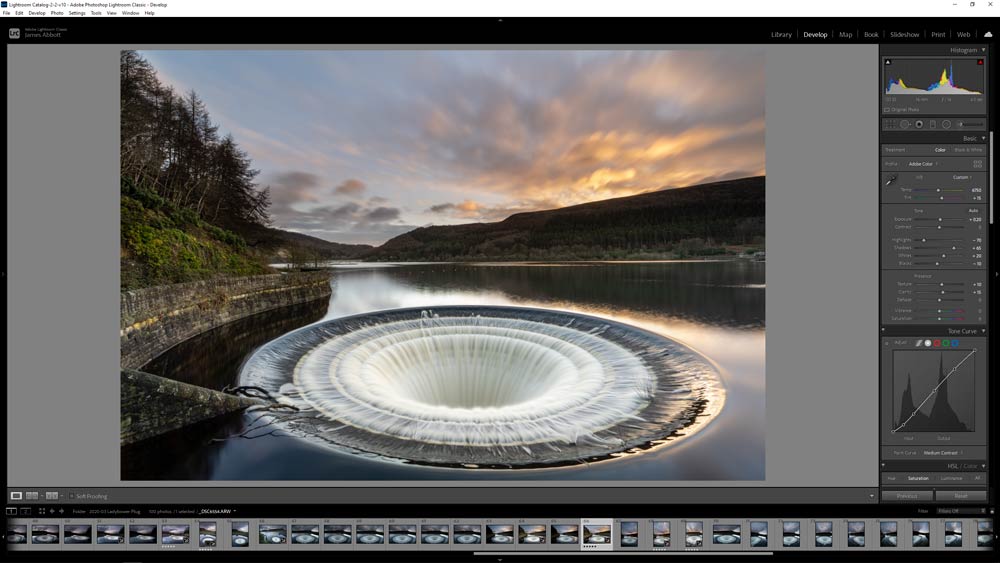
In light of the events over the last year I have begun to offer online Lightroom & Photoshop workshops via Zoom. Learn how to get more from your photo editing software with a bespoke one-to-one Photoshop, Elements and Lightroom training. Online editing workshops are just as effective as in person using the share screen functionality of Zoom.
TourBox review: a controller for editing in Lightroom and Photoshop
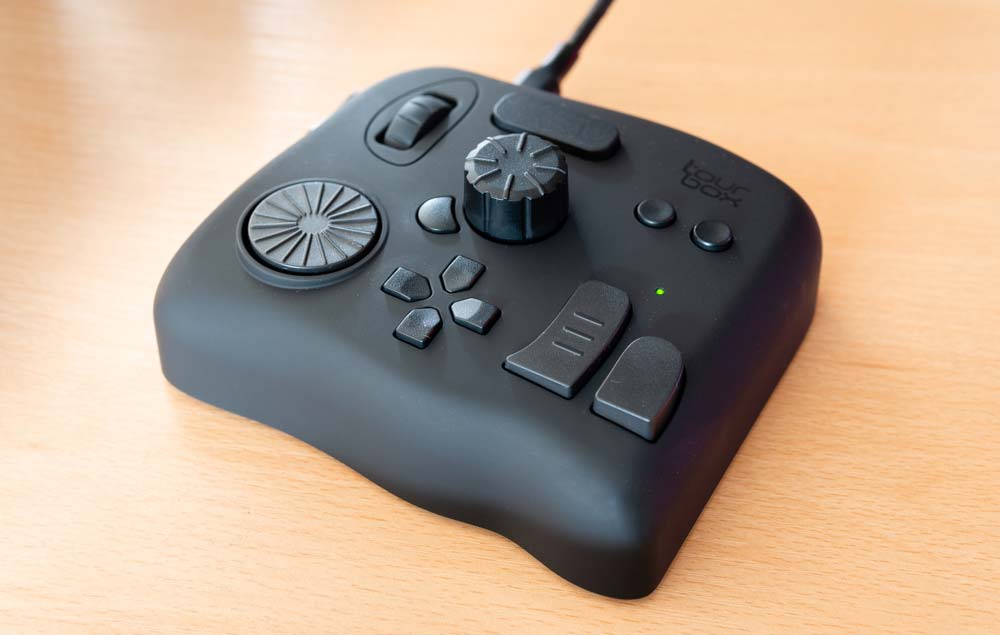
Photographers are constantly looking for ways to speed up their editing workflow, and in recent years consoles and controllers have been released to help to achieve this. Not to mention to provide a more intuitive and natural way of accessing and controlling settings. The TourBox is a cost-effective and easy to use controller for Lightroom and Photoshop, as well as other photo and video editing software, but does it have what it takes to help you to speed up your photo editing?
Shoot sharper landscape images
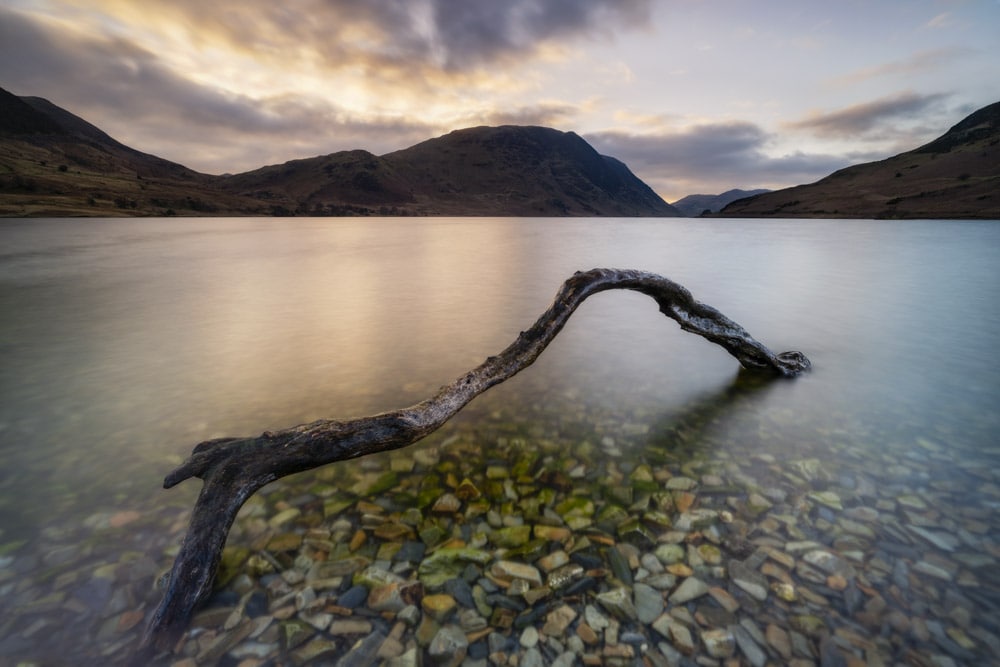
Capturing pin-sharpness throughout a scene – from the foreground to the distant background – is often the photographer’s aim when shooting landscapes. For wider scenes where the foreground interested is a few metres away from the camera you can usually get away with shooting a single image at f/11 – f/16 on a full-frame camera, or f/8 – f/11 on APS-C. With these settings and correct focusing front to back sharpness is possible in a single shot, but what about when the foreground interest is closer to the camera and you need both this and the background in sharp focus? The simple answer is to use focus stacking to achieve sharper landscape images.
Vintage wedding photography effect
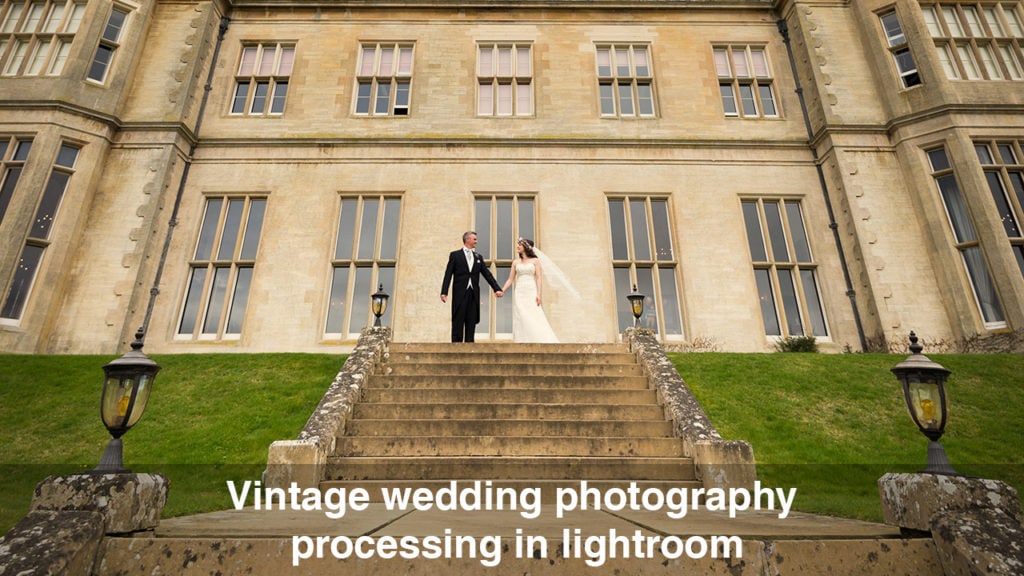
Learn how to apply a vintage colour effect to wedding photography in Lightroom. The technique applies a warm colour effect using Curves. Vintage wedding photography colour effects in Lightroom is a popular technique that you need to know. To see the full before and after images scroll down.
