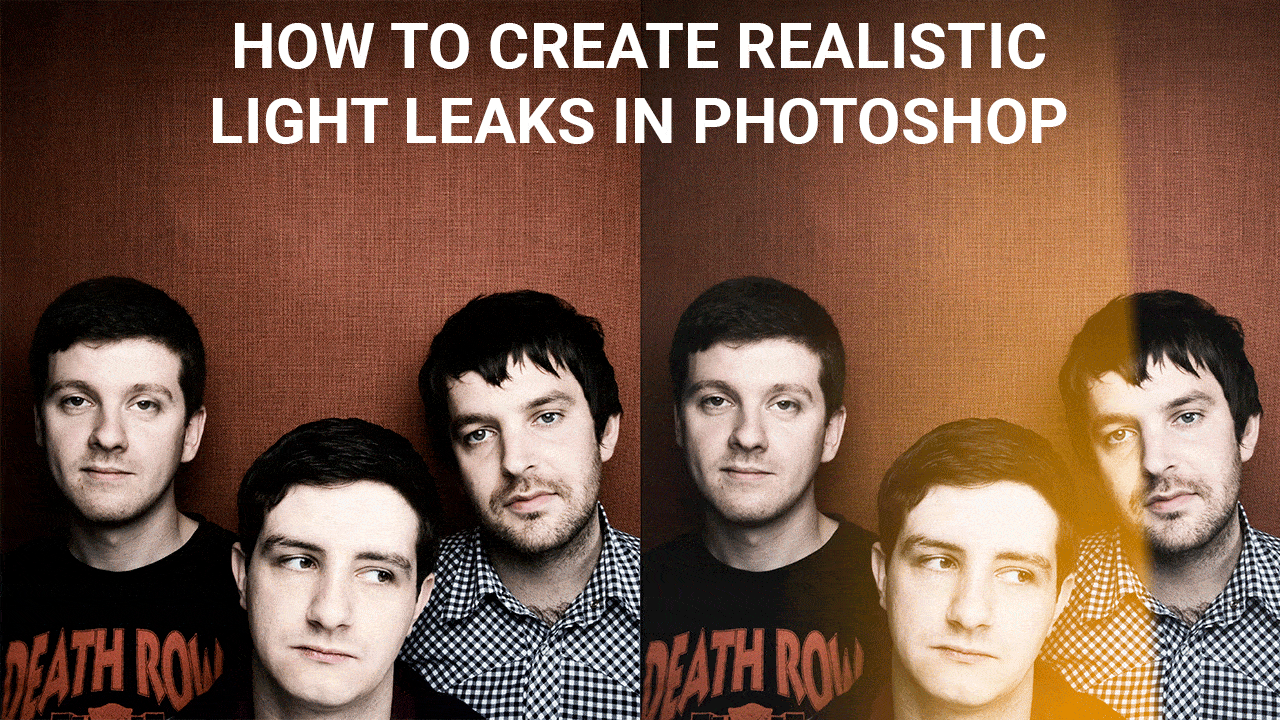
Digital photography is crisp, clean and overall much more consistent than analogue photography. This is great for the most part, but like most things digital results can quickly become too perfect. Relive the unpredictable nature of film photography and add a stylish retro effect to your shots by creating realistic light leaks in Photoshop. Here’s how it’s done…
Tutorials
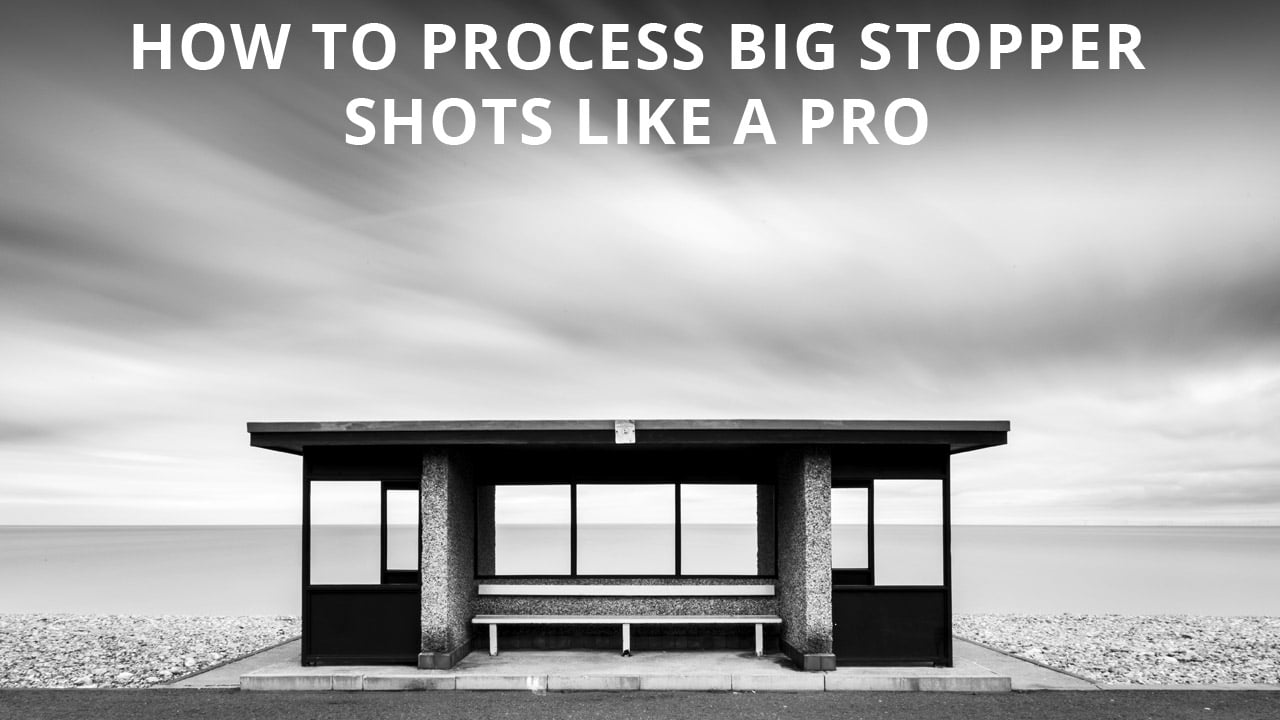
Process big stopper shots like a pro
Learn how to process your big stopper shots like a pro in Adobe Camera Raw with this in-depth video tutorial. It covers a number of important editing skills and will help you to make your big stopper images look their best. If you’re not familiar with the term ‘big stopper’ it simply refers to a 10 stop neutral density filter (ND).
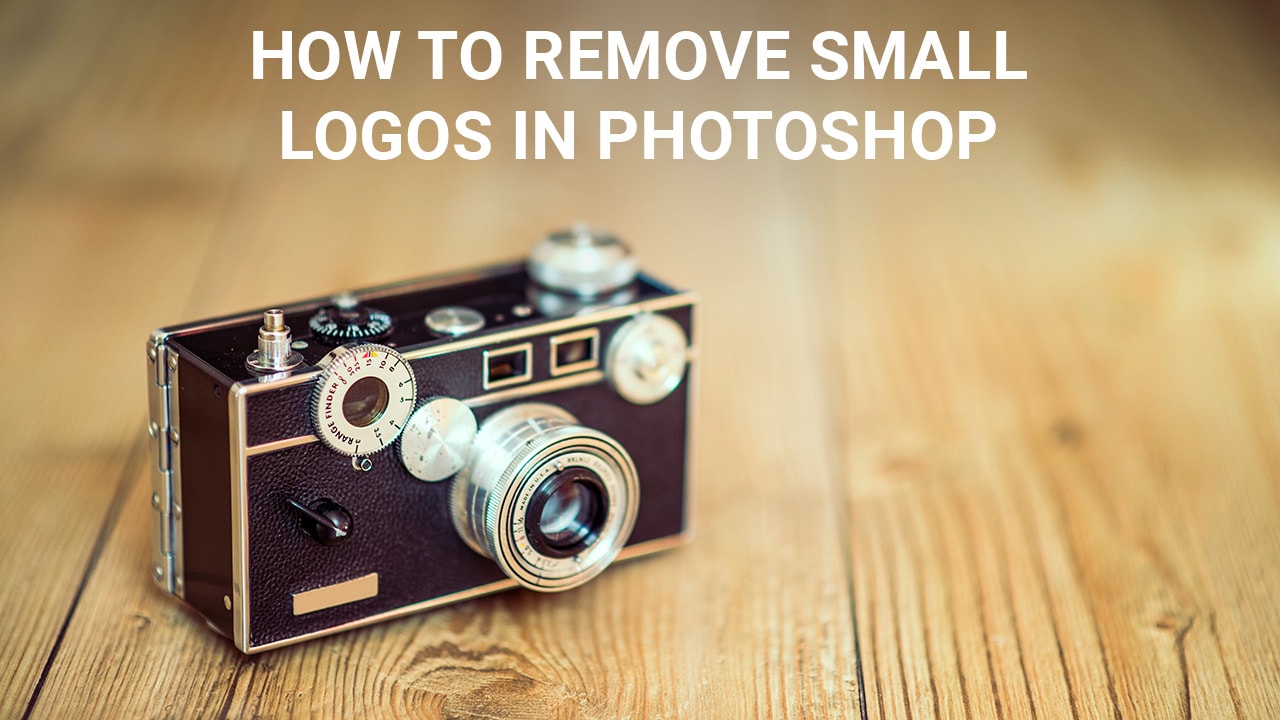
How to remove logos in Photoshop
If you sell your photos on stock websites such as the 500px Marketplace, you have to remove visible logos and branding from objects in the scene. Smaller logos like the one in the image above can be fiddly because there are fewer pixels to work with, but here’s one way to effectively remove small logos.
Bleach bypass effect in Photoshop
Learn how to apply a stylish bleach bypass effect in Photoshop. This effect desaturates images, boosts contrast and highlights texture in a similar way, but different, to Clarity in Adobe Camera Raw and Lightroom. The bleach bypass technique comes from the days of film. It was achieved during transparency film processing the bleach stage was missed out, or bypassed. Here’s how to apply a bleach bypass effect in Photoshop.
Create a washed out desaturated effect in Photoshop
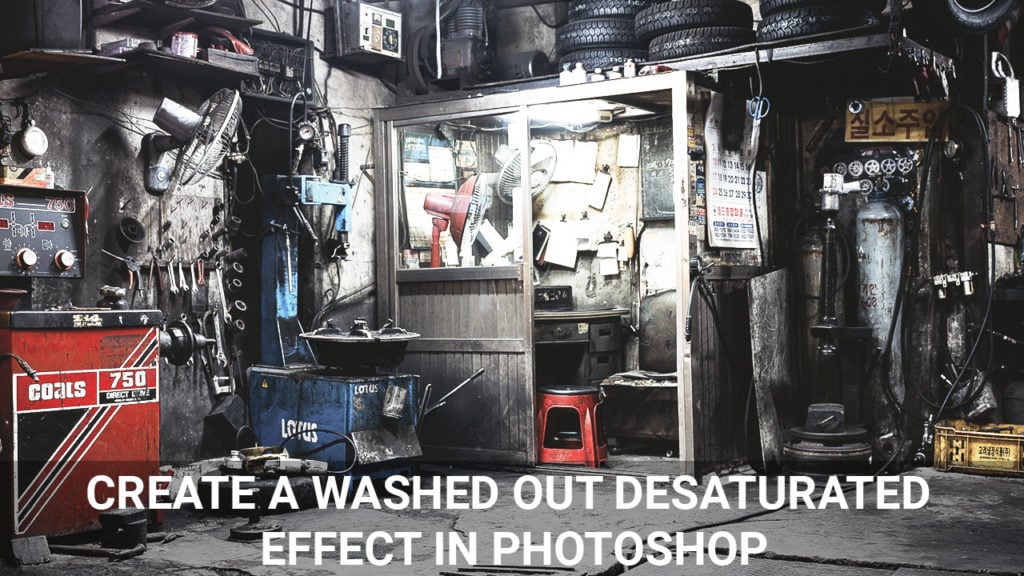
Learn how to create a filmic washed out and desaturated effect in Photoshop using Gradient Maps and Curves. It takes less than a minute to apply the technique, and is a fantastic effect for a wide range of images. The overall effect is similar to, but at the same time completely different to bleach bypass.
Add the ethereal Orton Effect to landscape shots in Photoshop
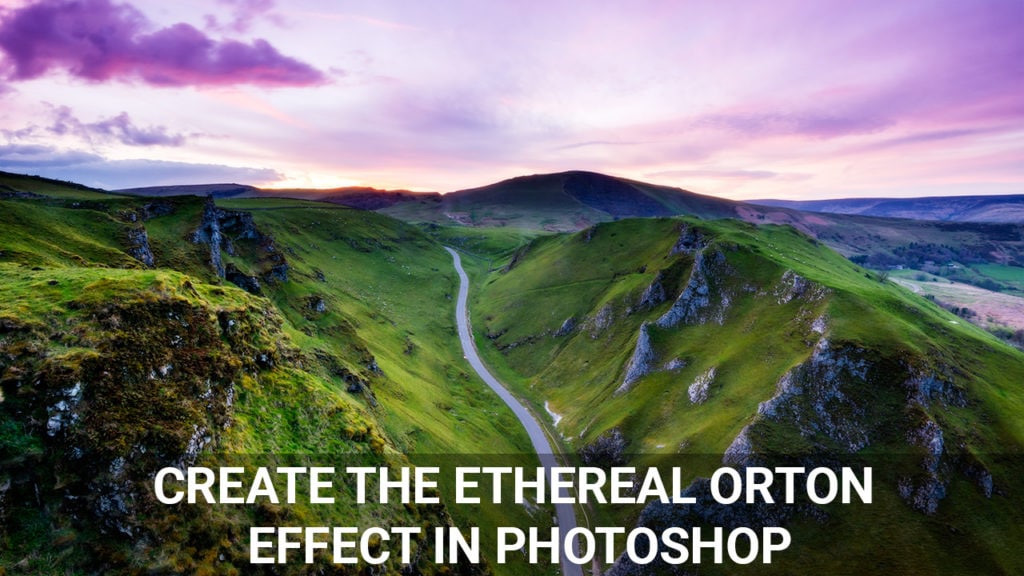
Learn how to create the ethereal Orton Effect in Photoshop. The technique blends blur and sharpness together for a dreamy effect that looks amazing with landscape photography. Blending blur with an image you’ve taken care to shoot with sharpness throughout may sound like a bad idea, but the two work in perfect harmony to create an effect in your landscape photography that’s subtle, yet distinctive.
Wet plate collodion effect in Photoshop
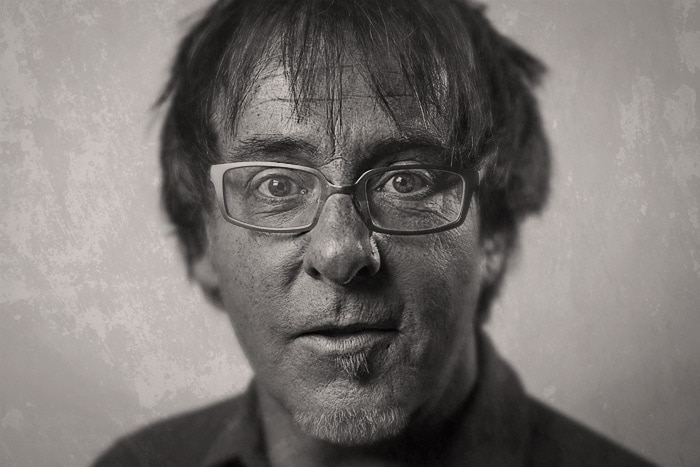
The wet plate collodion process is becoming increasingly popular as photographers search for more unique, and equally eye-catching ways of taking photos. This almost abandoned technique was once the most advanced photographic process available, but was overtaken by dry plates, celluloid film and more recently digital photography. The effect is highly sought after because of the amazing quality of detail it adds to portraits. Here’s how you can apply the wet plate collodion effect to any portrait in Photoshop.
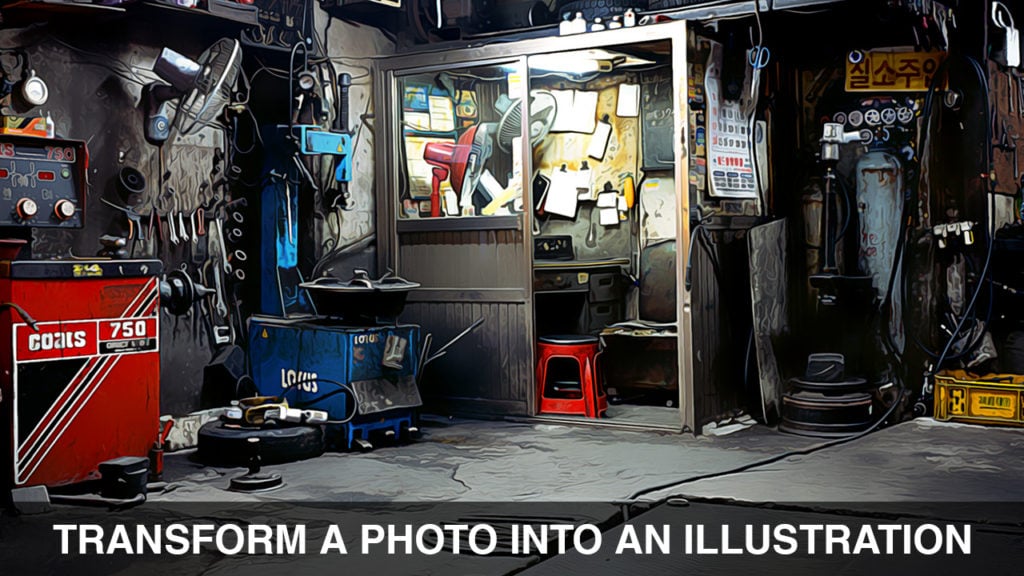
Turn a photo into an illustration
Transform a photo into an illustration / oil painting with this clever Photoshop trick. The technique gives fine details the appearance of brush strokes, and looks fantastic when applied to a wide range of different images. It’s a lot of fun, and can totally reinvigorate your approach to processing photos.
Hazy vintage effect in Photoshop

Learn how to create a hazy vintage effect in Photoshop. This simple technique is perfect for portraits because it adds a subtly haze and gentle warmth to your images that makes any image look like it was taken on a summer’s day.
How to install Photoshop Actions
 Installing Photoshop Actions is one of the easiest tasks you can perform in Photoshop. All you have to do is double click on the .atn file, and the Actions will load into Photoshop automatically. Ocassionally, this doesn’t work so you have to install them manually. Here’s how it’s done…
