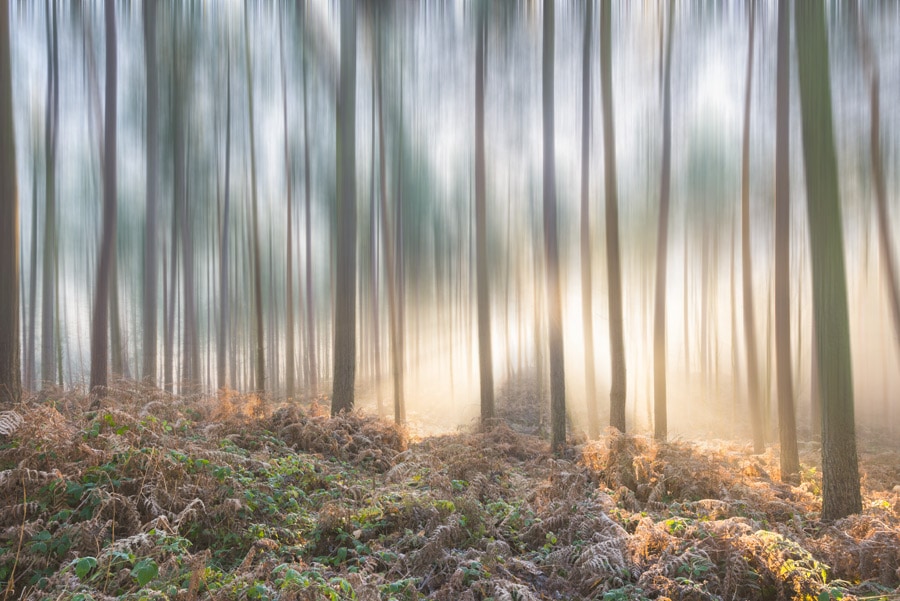
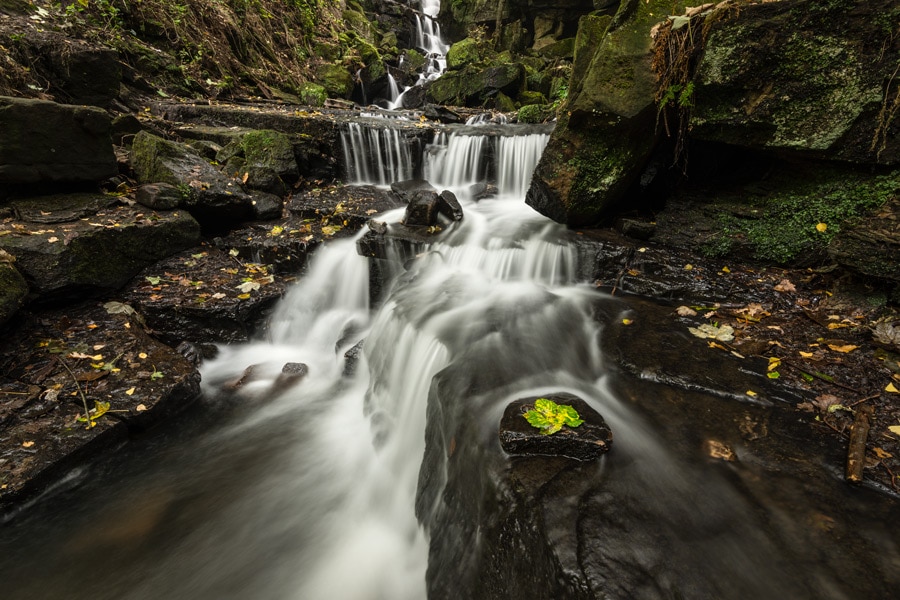
Learn how to apply a surreal motion blur to forest shots in Photoshop. This technique is hugely popular and can be applied in just a few minutes. All you need is a forest image, ideally taken in interesting lighting conditions, and you’re ready to go.
photoshop tutorial
Boost contrast without increasing saturation
How to boost contrast without increasing saturation. Adjustment Layers in Photoshop are powerful tools, but sometimes using them at face value doesn’t provide the best results. In this tutorial we’ll take a look at how a simple change of Blending mode can make a huge difference to an Adjustment Layer.
Make your sunrise and sunset shots pop
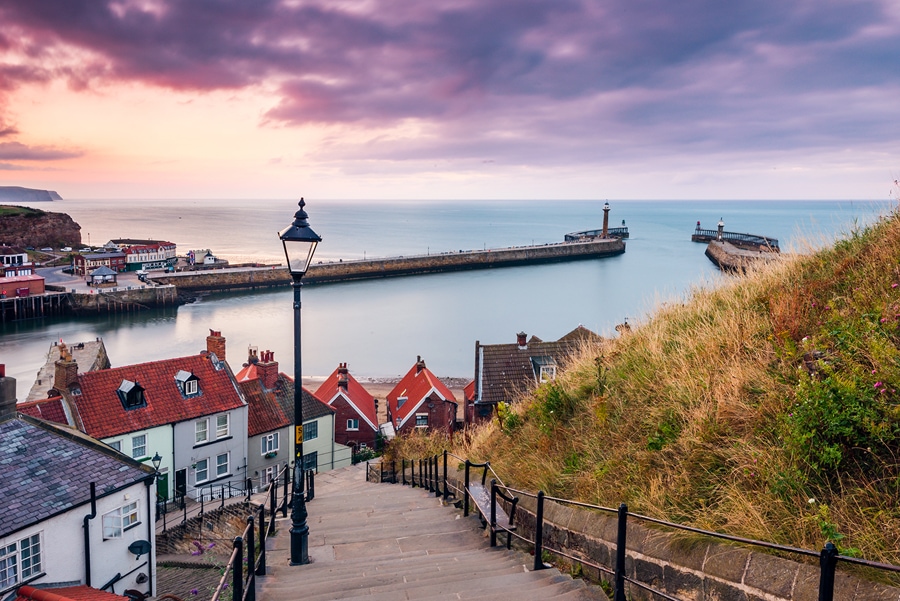
Learn how to make your sunrise and sunset images pop with this simple colour enhancement technique. By using either natural colour sampled from the image or adding a similar tone selected from the Color Picker in Photoshop, you can make your golden hour shots even more eye-catching while maintaining a natural appearance.
How to focus stack images in Photoshop
Focus stacking is the perfect way to ensure your landscape shots are pin-sharp from the front of the image, all the way to the back. Learn how easy it is to blend focus stacked images together using Photoshop’s intelligent automated functions. This tutorial focuses on blending landscape images together in Photoshop, with a small amount of shooting advice.
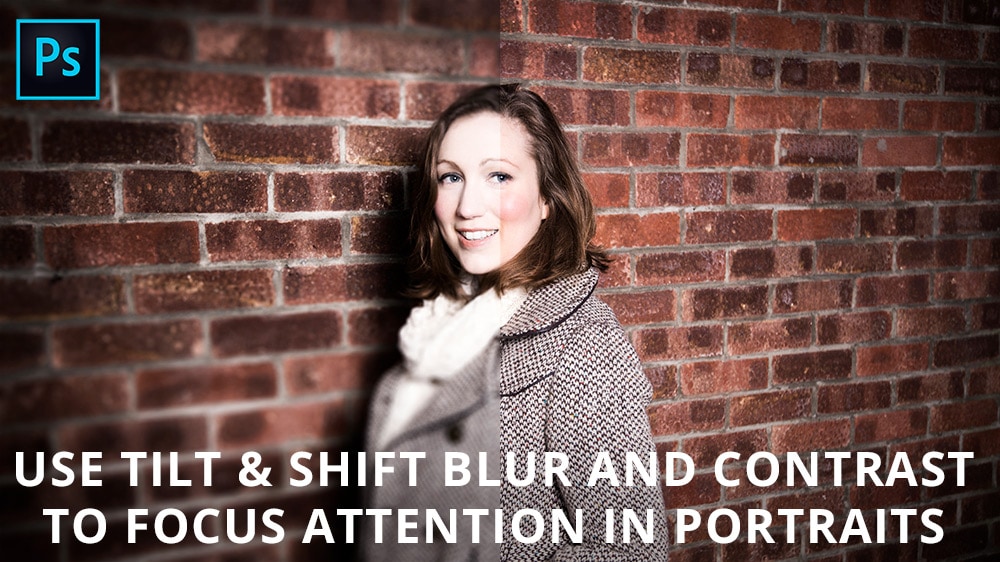
Use blur and contrast to focus attention in portraits
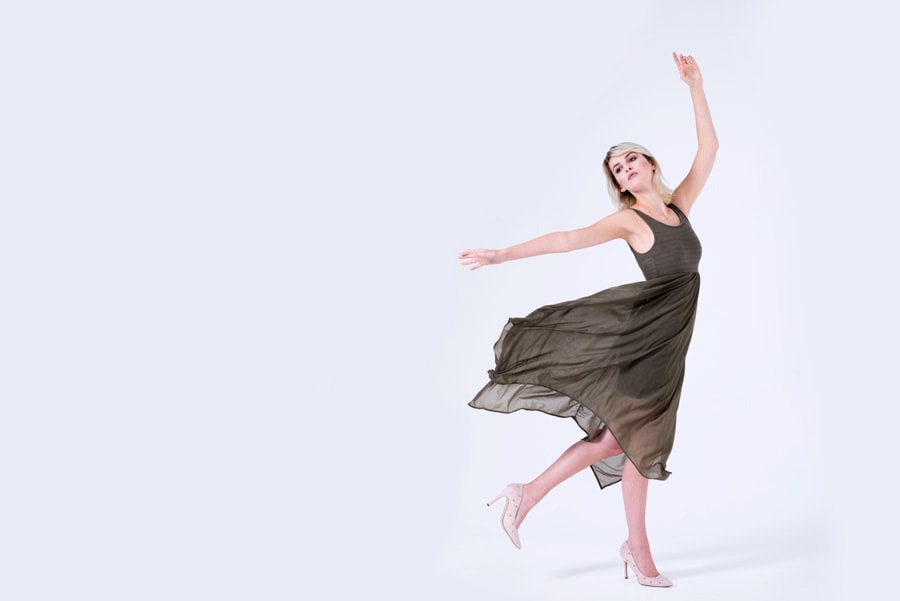
Learn how to focus attention in portraits using a tilt & shift style of blur, and also how to create a high contrast, diffuse glow desaturation technique that produces a punchy colour and tone effect. You can apply the whole technique in Photoshop, or simple use one of the individual smaller effects used within the main technique – it’s entirely up to you.
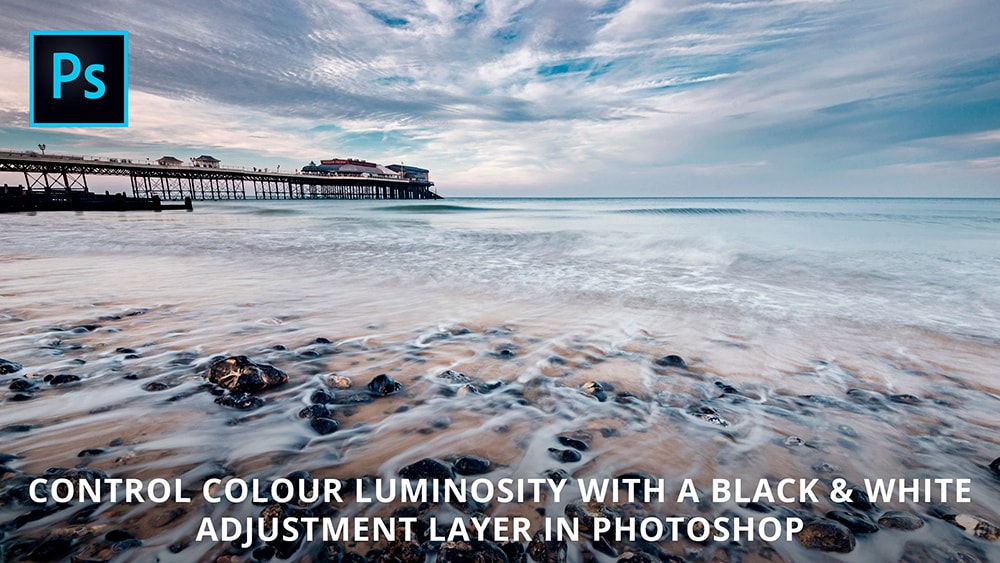
Control colour luminosity in Photoshop
Learn how to control colour luminosity/brightness with a Black & White Adjustment Layer in Photoshop. With this simple technique you can lighten or darken almost any colour in the image to achieve the perfect colour luminosity. The result is greater control over your images by increasing the impact of colour.
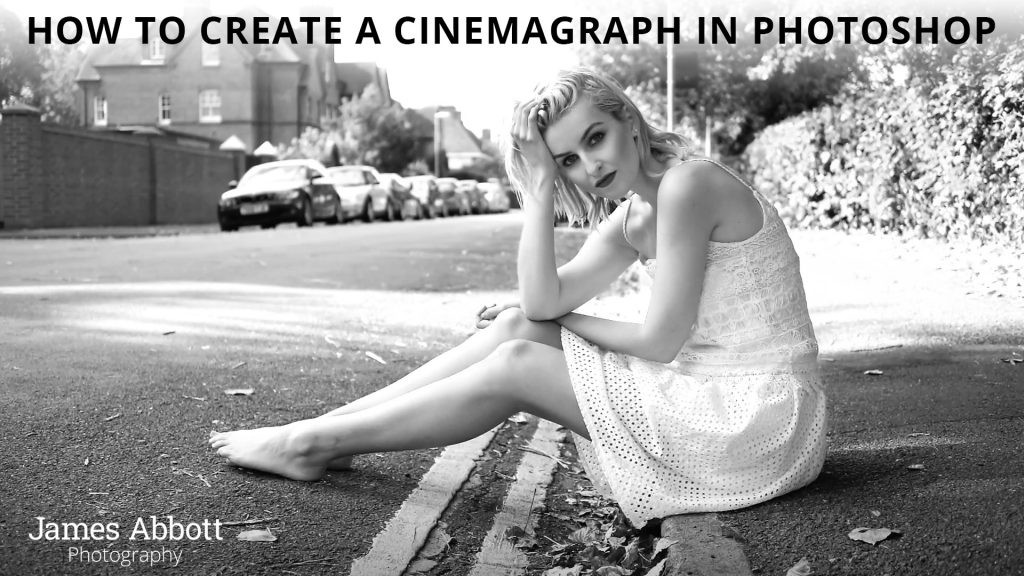
Create a cinemagraph in Photoshop
Cinemagraphs are fun and surreal still images that display an element of movement. This is achieved by shooting a short amount of video footage, loading it into Photoshop, creating a still and then masking out selected areas to reveal the movement behind. By then saving the file as a GIF you have a cinemagraph. If you’d like to learn the basics of shooting video with your DSLR or mirrorless camera take a look at part one of this tutorial – shooting video for cinemagraphs – by clicking here.
Create light leaks in Photoshop
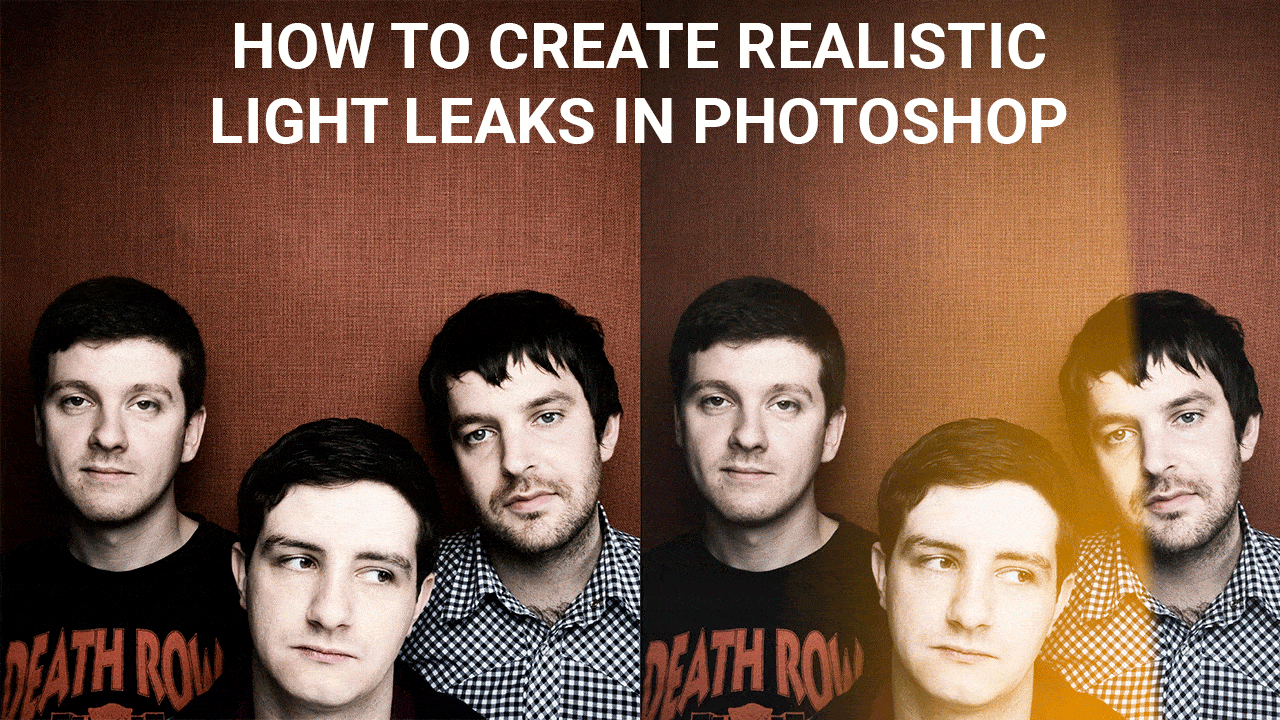
Digital photography is crisp, clean and overall much more consistent than analogue photography. This is great for the most part, but like most things digital results can quickly become too perfect. Relive the unpredictable nature of film photography and add a stylish retro effect to your shots by creating realistic light leaks in Photoshop. Here’s how it’s done…
Process big stopper shots like a pro
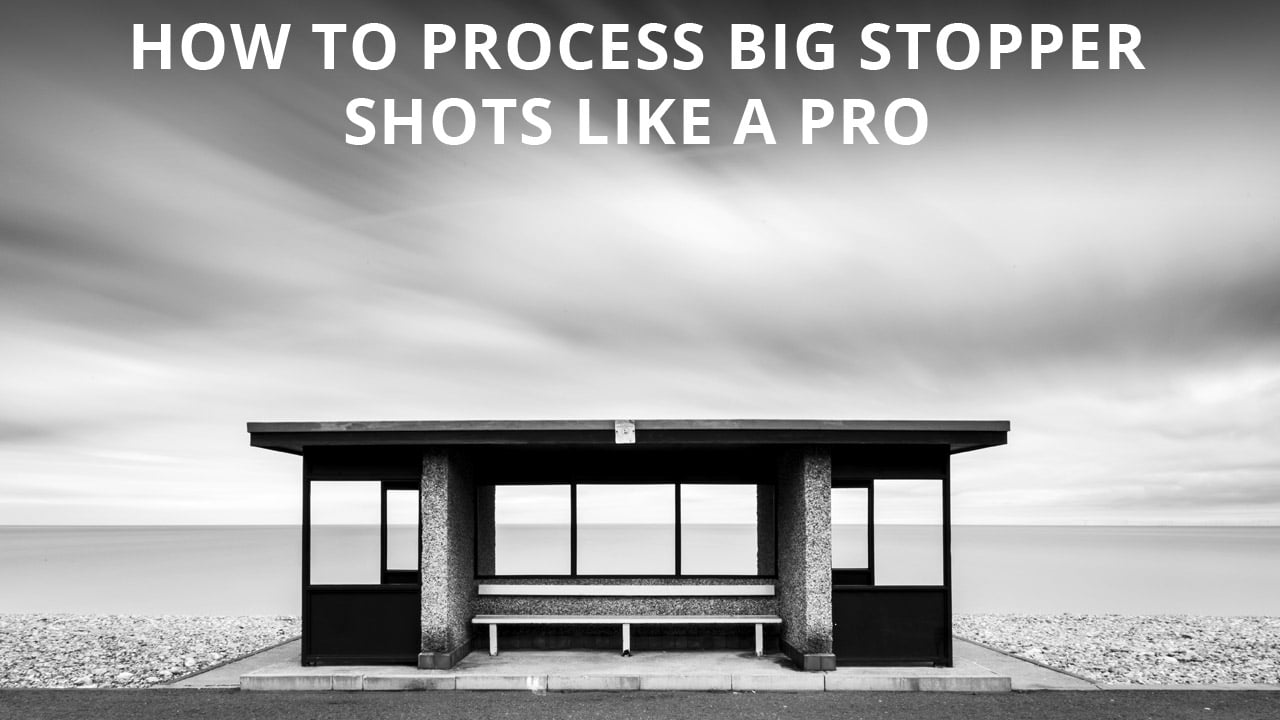
Learn how to process your big stopper shots like a pro in Adobe Camera Raw with this in-depth video tutorial. It covers a number of important editing skills and will help you to make your big stopper images look their best. If you’re not familiar with the term ‘big stopper’ it simply refers to a 10 stop neutral density filter (ND).
How to remove logos in Photoshop
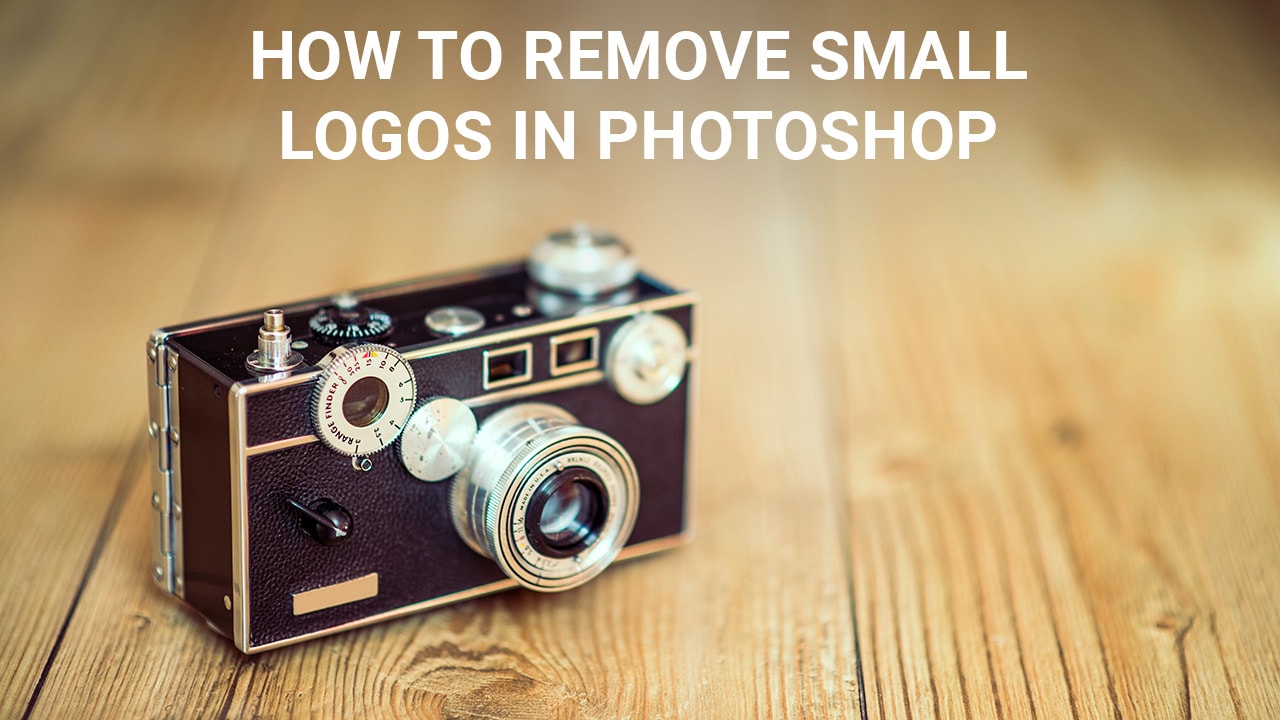
If you sell your photos on stock websites such as the 500px Marketplace, you have to remove visible logos and branding from objects in the scene. Smaller logos like the one in the image above can be fiddly because there are fewer pixels to work with, but here’s one way to effectively remove small logos.
