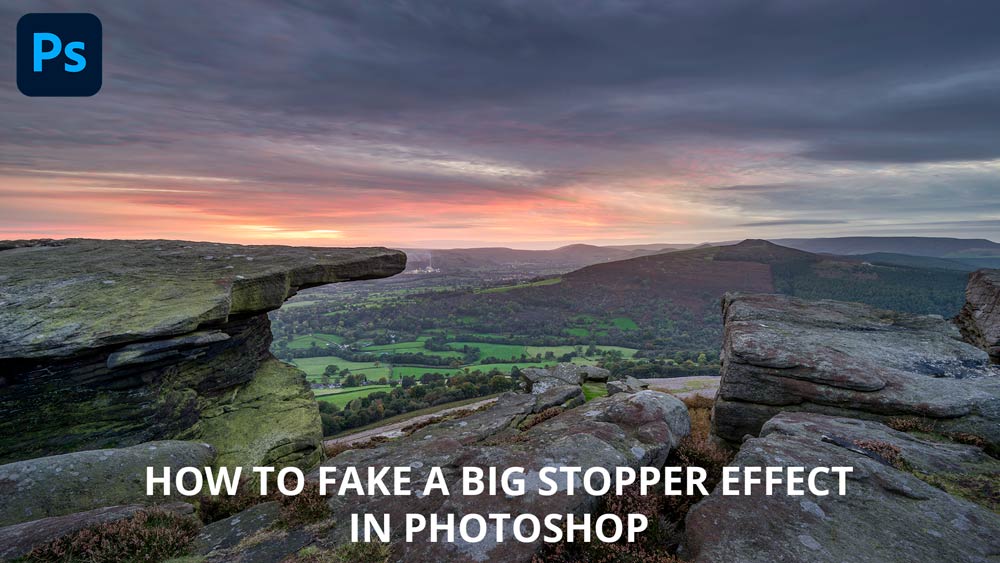
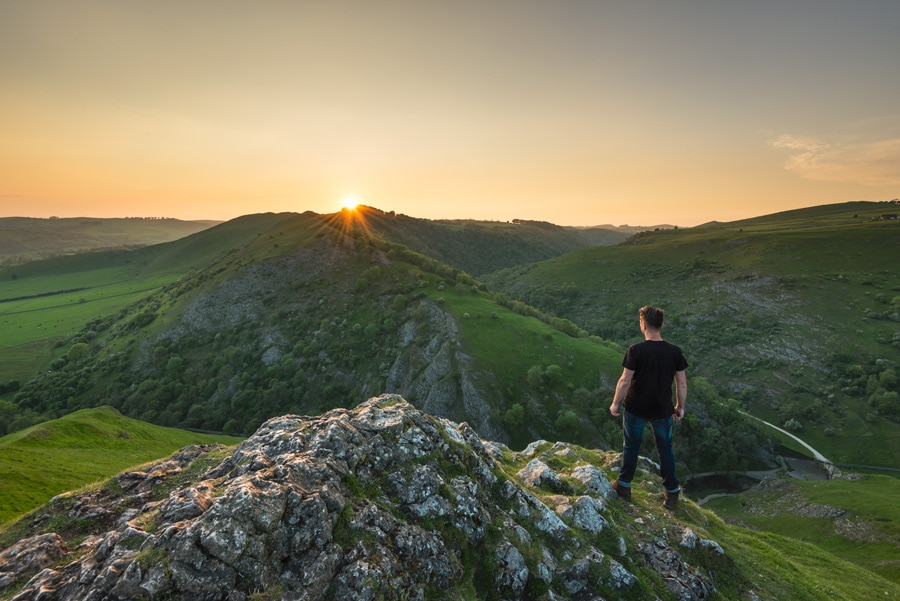
Capturing motion in the scene when shooting landscapes is the perfect way to add a sense of dynamism to your photography. For those occasions where you don’t have an ND filter with you, learn how to create a fake Big Stopper effect in Photoshop using this simple technique.
photoshop tutorial
Create punchy black & white the easy way
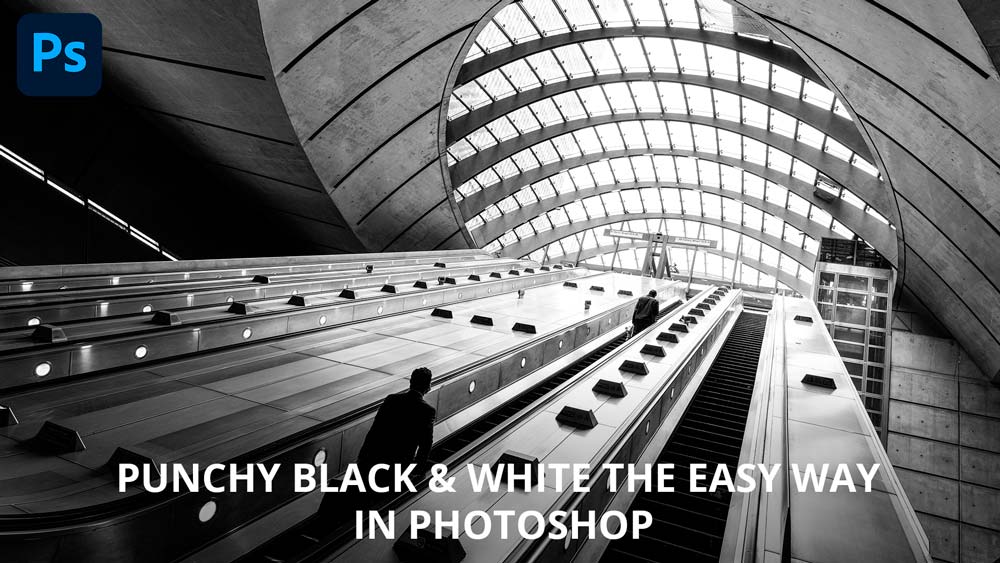
There are many ways of converting colour images to black & white using Photoshop, and each method has advantages and disadvantages. This approach is one of the easiest to apply and produces a great result in less than 30 seconds, so here’s how to create punchy black & white images in Photoshop the easy way…
Colour correct photos in seconds
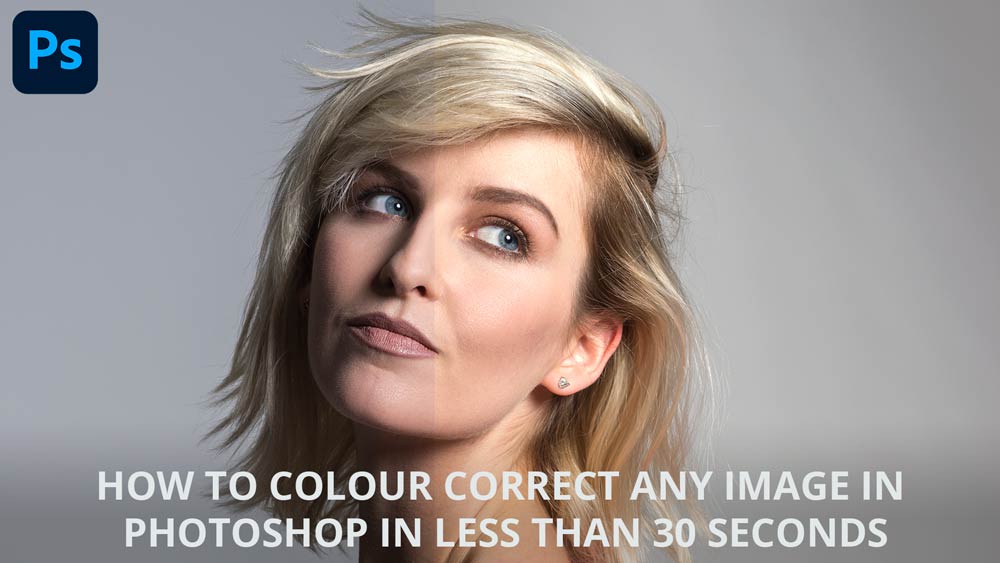
Colour correction in Photoshop can be notoriously tricky and time-consuming. But whether you’re a seasoned pro or absolute beginner, this incredibly simple yet powerful technique will allow you to colour correct photos in less than 30 seconds. This ultimately means less time fiddling with sliders and more time shooting and editing your shots to perfection.
Enhance detail and atmosphere with the Orton effect
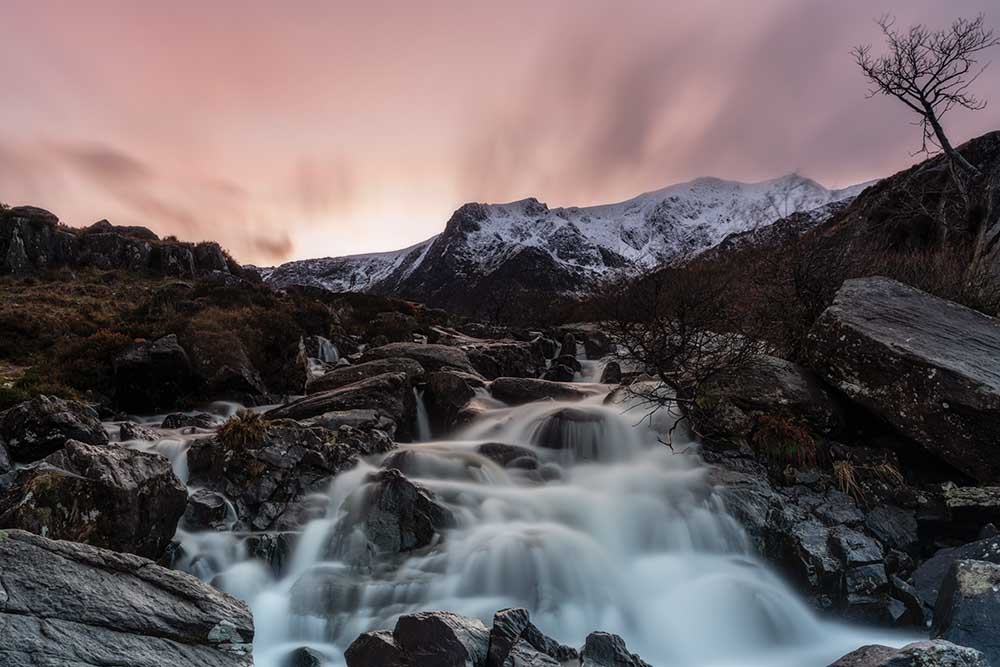
Discover an advanced method of applying the Orton effect that keeps file sizes small and image quality at its best. I developed this refined technique myself in response to upgrading to a higher resolution camera, which meant the original technique created huge file sizes when saving layered images as TIFFs. And also, to deal with the problem of crushed shadows. This version solves both of these issues for the best results possible, and the tutorial works for Both Photoshop and Affinity Photo.
Shoot sharper landscape images
Capturing pin-sharpness throughout a scene – from the foreground to the distant background – is often the photographer’s aim when shooting landscapes. For wider scenes where the foreground interested is a few metres away from the camera you can usually get away with shooting a single image at f/11 – f/16 on a full-frame camera, or f/8 – f/11 on APS-C. With these settings and correct focusing front to back sharpness is possible in a single shot, but what about when the foreground interest is closer to the camera and you need both this and the background in sharp focus? The simple answer is to use focus stacking to achieve sharper landscape images.
Frequency separation retouching tutorial
There’s always more than one way to achieve an effect in Photoshop, but why use anything but the best? And for portrait and fashion retouching, that’s frequency separation retouching to maintain skin texture. Check out the video and written tutorials below…
Moody landscape photography
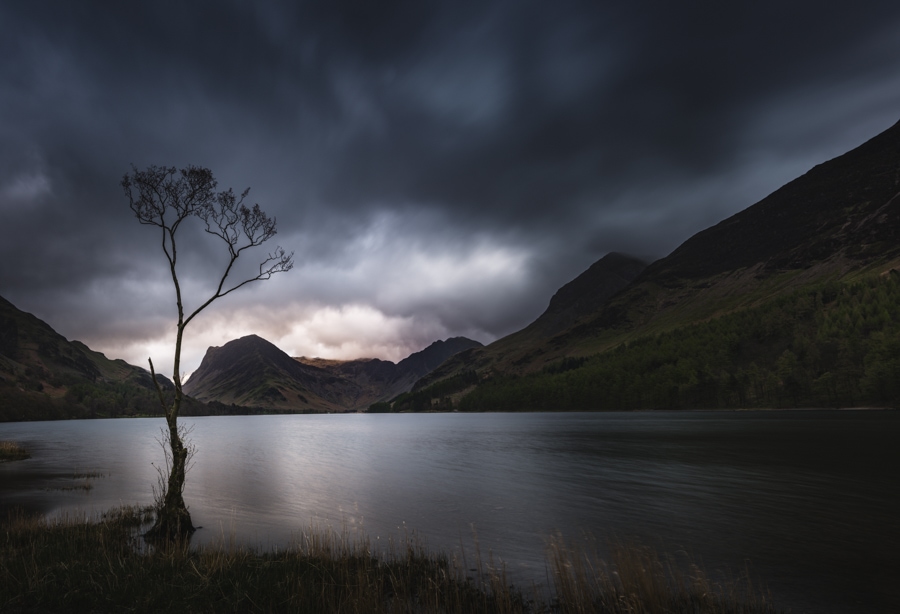
Moody landscape photography is equally as popular as bright and colourful landscapes because let’s face it, the weather doesn’t always play ball when you’re out shooting. In this short guide we’ll take a look at some of the key elements of shooting moody landscapes, as well as an editing technique that’s guaranteed to make your moody landscapes more dramatic than ever before.
How to create a hazy desaturated matte effect in Photoshop
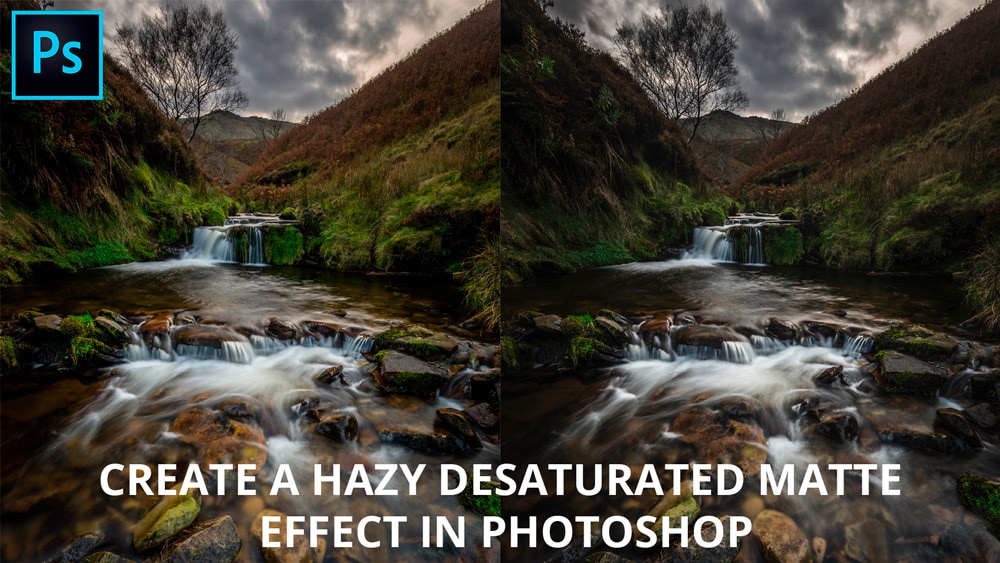
How to create a hazy desaturated matte effect in Photoshop. Learn two techniques to add a matte effect and haze – the effects can be used individually or together, and work well with all images. Portraits and landscapes in particular benefit from these awesome techniques. We’ll also take a quick look at one of the most effective desaturation techniques because it works perfectly with a hazy matte style.
How to create sunlight in Photoshop
How to remove lens flare in Photoshop
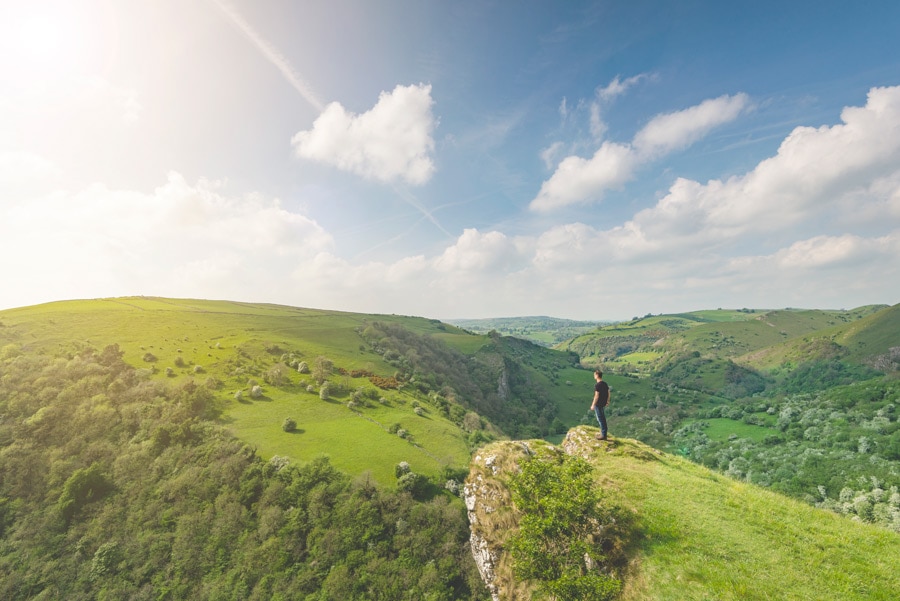
How many times have you shot a killer image at golden hour only to find it practically ruined by ugly lens flare? Learn how to quickly and easily remove lens flare from your landscape images in Photoshop. This is an essential technique for all photographers who often shoot landscapes and cityscapes at sunrise and sunset with the sun in the frame.
