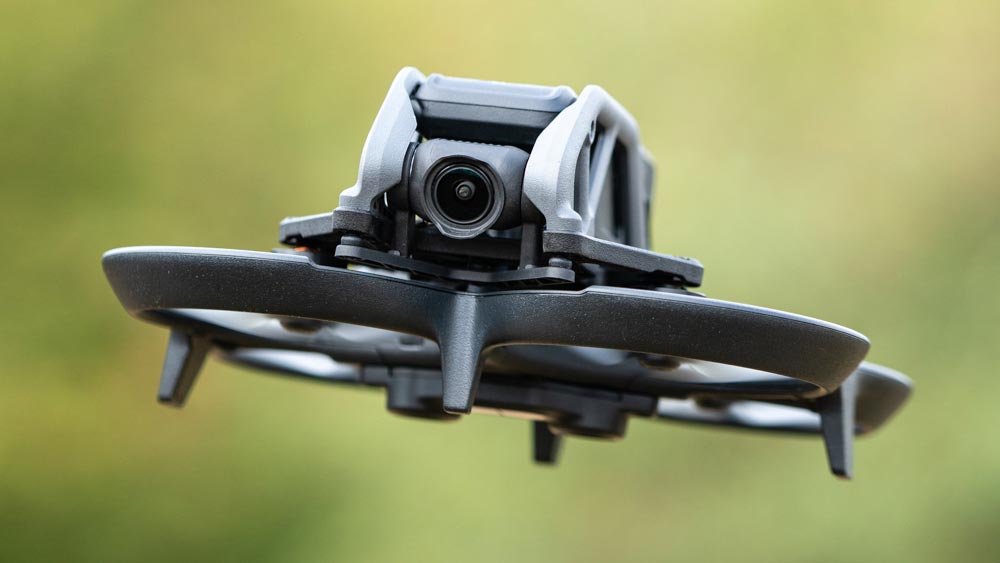
The DJI Avata is an exciting new FPV drone aimed at both FPV beginners and seasoned experts capable of flying in acro mode. Thanks to the intuitive DJI Motion Controller, even absolute beginners can capture immersive FPV video with ease. Check out these two videos showing the fantastic video quality of the DJI Avata, as well as the 1080p FPV feed captured in DJI Goggles 2.
Video
DJI Mavic Air 2 240fps Slow Motion Video
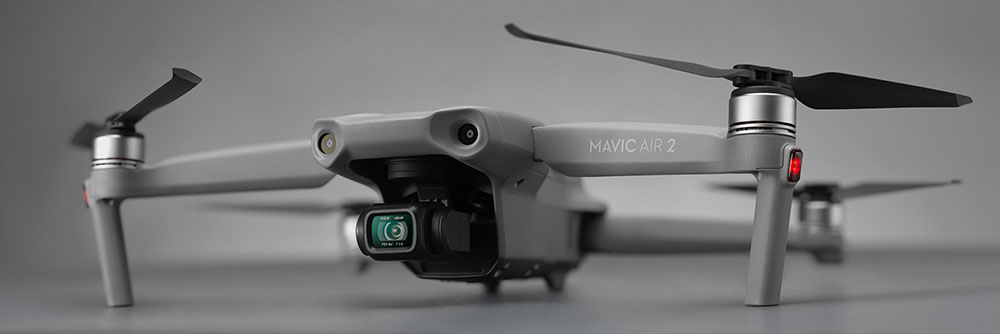
Slow motion video of running water shot at 240fps on the DJI Mavic Air 2. DJI’s latest drone is packed full of new and exciting features, not least slow notion video at 120fps and 240fps at 1080p. The effect is impressive and adds a new dimension to aerial videography.
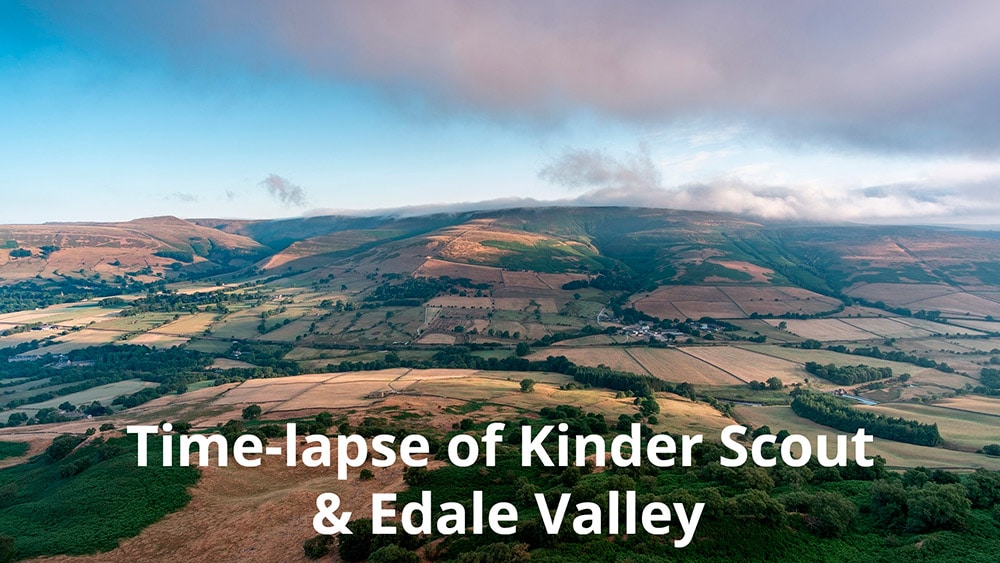
Kinder Scout & Edale time-lapse
Shooting time-lapse photography is something I often use my second camera for while shooting landscape photography at sunrise and sunset. This time-lapse shows cloud coming over Kinder Scout in the Peak District before dispersing with the Edale Valley in the foreground. To watch the time-lapse take a look at the video below.
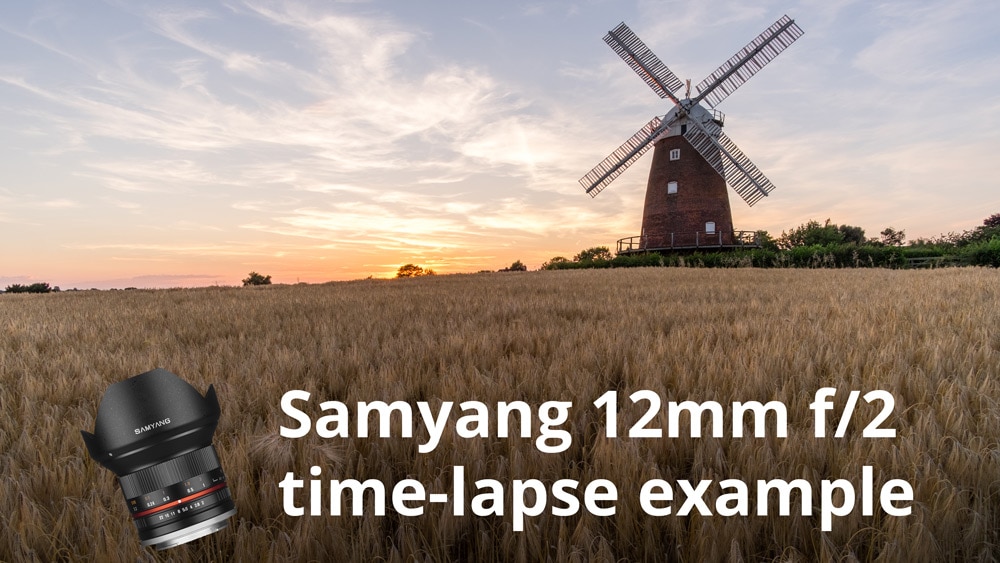
Samyang 12mm f/2 time-lapse
This is a time-lapse shot on Fujifilm X-T1 and Samyang 12mm f/2.0 lens. This was to test how well the Samyang lens performed in this demanding type of shooting situation.
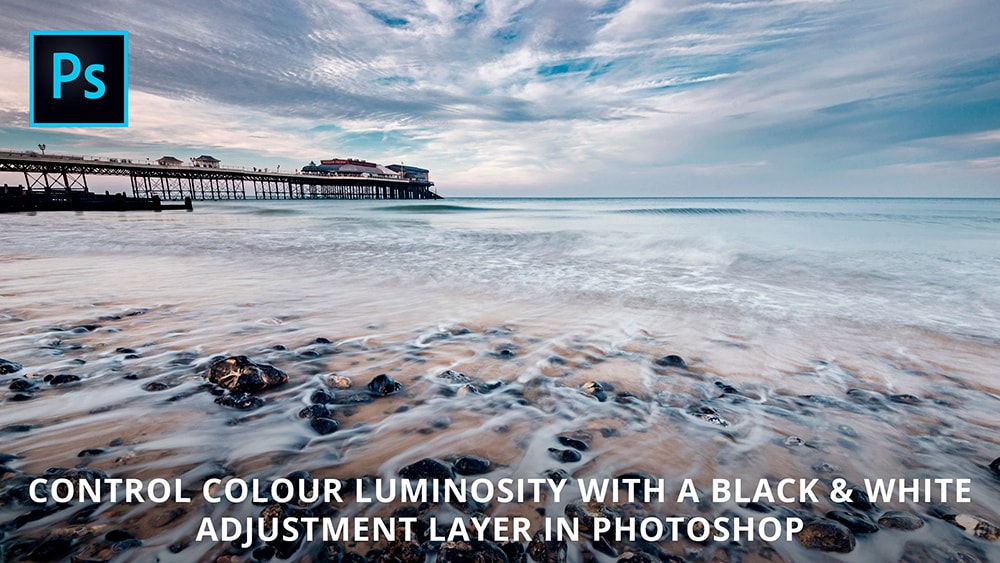
Control colour luminosity in Photoshop
Learn how to control colour luminosity/brightness with a Black & White Adjustment Layer in Photoshop. With this simple technique you can lighten or darken almost any colour in the image to achieve the perfect colour luminosity. The result is greater control over your images by increasing the impact of colour.
Shooting video for cinemagraphs
Cinemagraphs have taken the Internet by storm and creating them is a simple process that requires a slightly different approach to shooting regular stills. Quite simply that you have to shoot video from which a still will be taken from during processing. In this part one tutorial you’ll be shown the basics of shooting video. If you would like to jump ahead and learn how to create a cinemagraph in Photoshop click here.
Create a cinemagraph in Photoshop
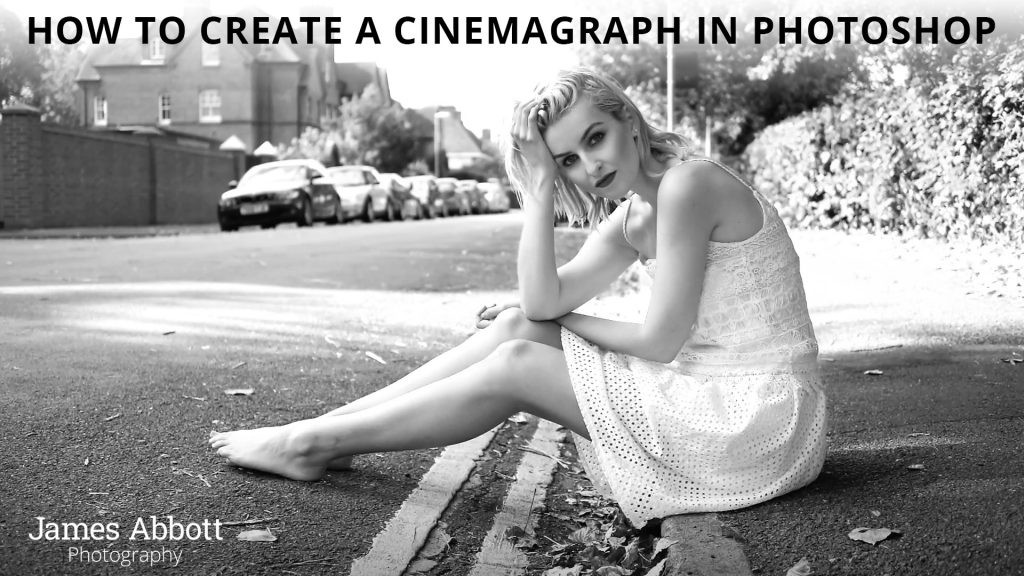
Cinemagraphs are fun and surreal still images that display an element of movement. This is achieved by shooting a short amount of video footage, loading it into Photoshop, creating a still and then masking out selected areas to reveal the movement behind. By then saving the file as a GIF you have a cinemagraph. If you’d like to learn the basics of shooting video with your DSLR or mirrorless camera take a look at part one of this tutorial – shooting video for cinemagraphs – by clicking here.
Process big stopper shots like a pro
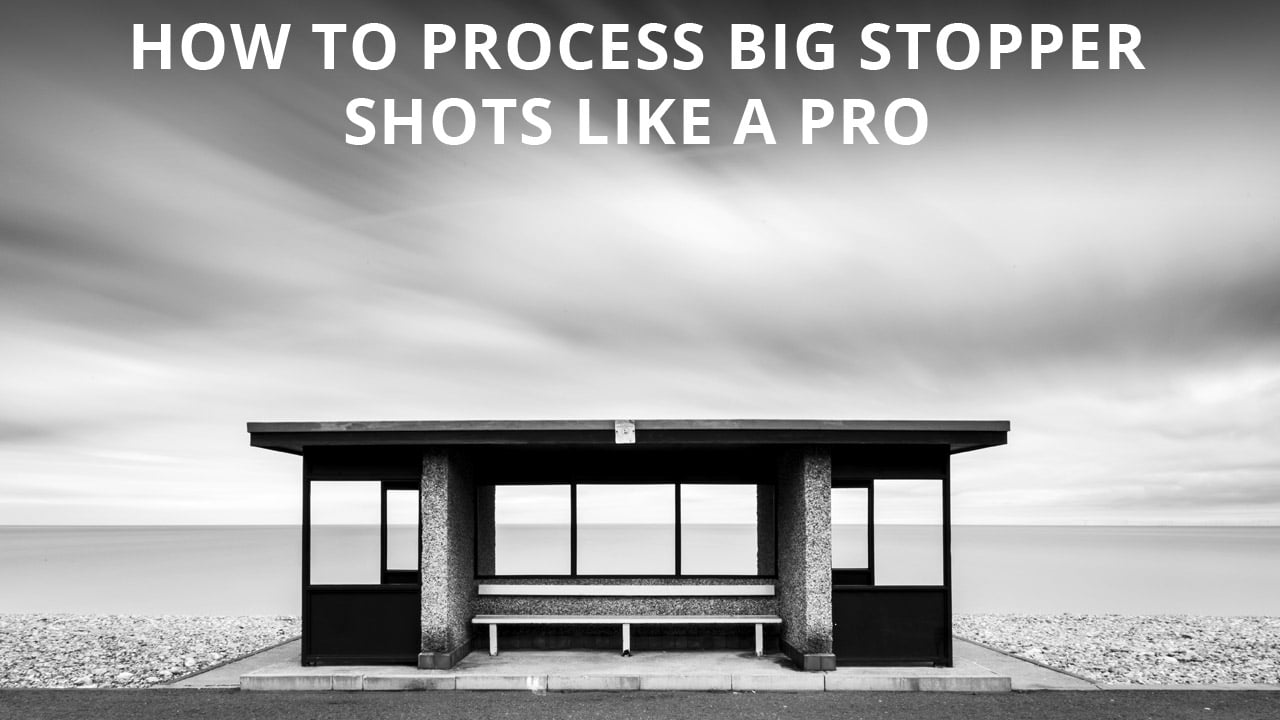
Learn how to process your big stopper shots like a pro in Adobe Camera Raw with this in-depth video tutorial. It covers a number of important editing skills and will help you to make your big stopper images look their best. If you’re not familiar with the term ‘big stopper’ it simply refers to a 10 stop neutral density filter (ND).
Turn a photo into an illustration
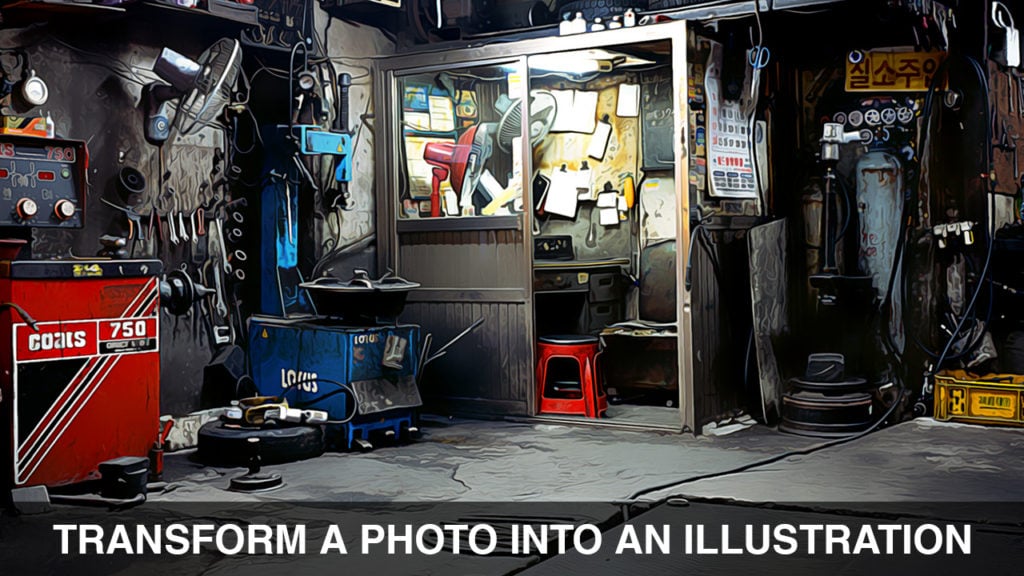
Transform a photo into an illustration / oil painting with this clever Photoshop trick. The technique gives fine details the appearance of brush strokes, and looks fantastic when applied to a wide range of different images. It’s a lot of fun, and can totally reinvigorate your approach to processing photos.
GoPro Hero 4 slow motion video
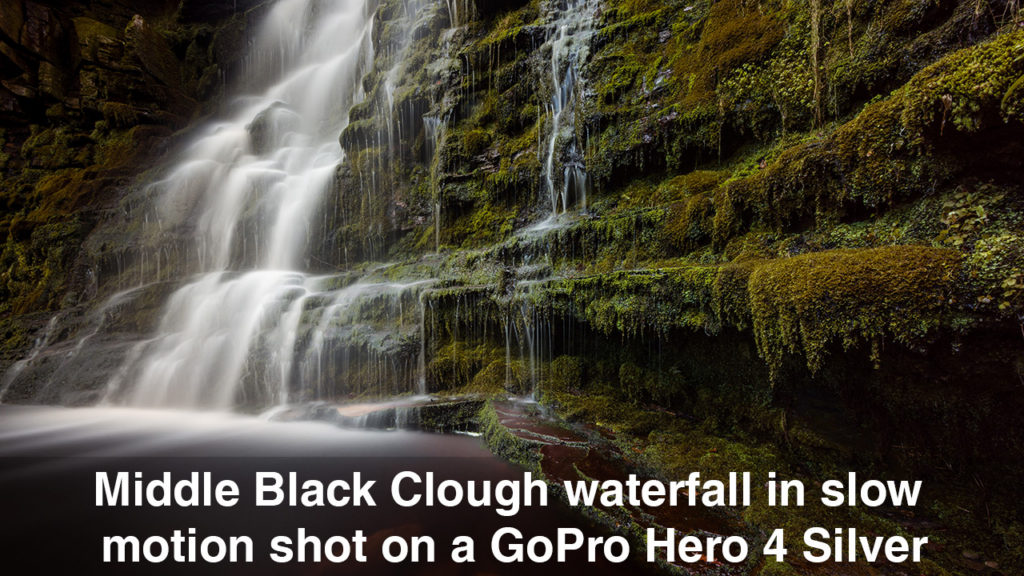
The GoPro Hero 4 Silver has a number of great features that make it attractive to photographers, film makers and anyone who would like a small and tough camera capable of being attached to almost anything. One of the more fun features of the GoPro Hero 4 Silver is that it’s capable of recording footage at 120fps at 720p. GoPro Studio allows you to slow it down even more for ultra slow motion videos. Here’s a slow motion video shot at Middle Black Clough waterfall in the Peak District to show what the camera and software are capable of.
