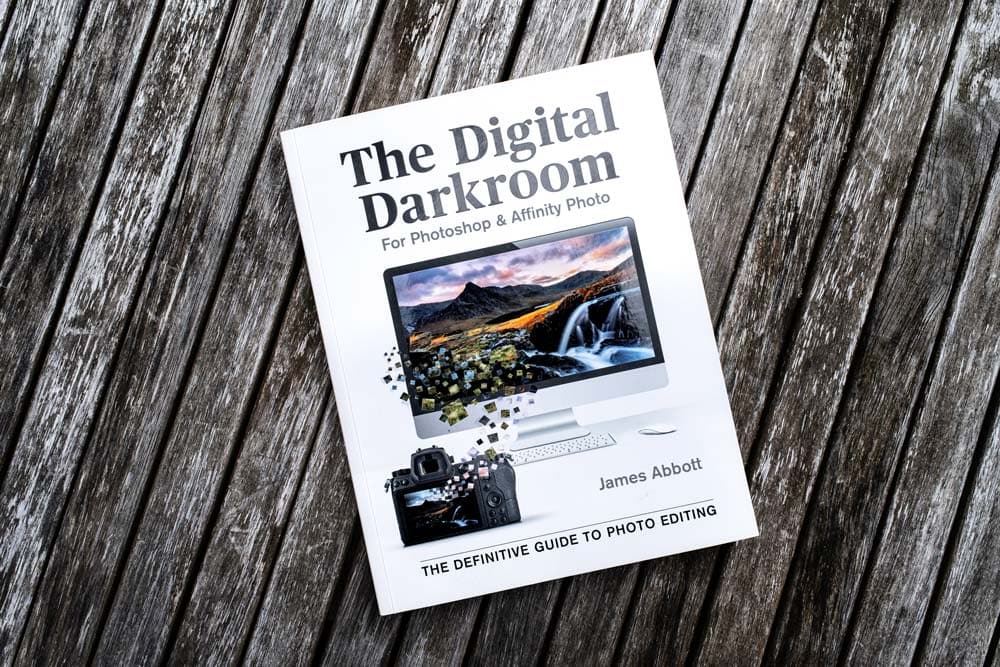
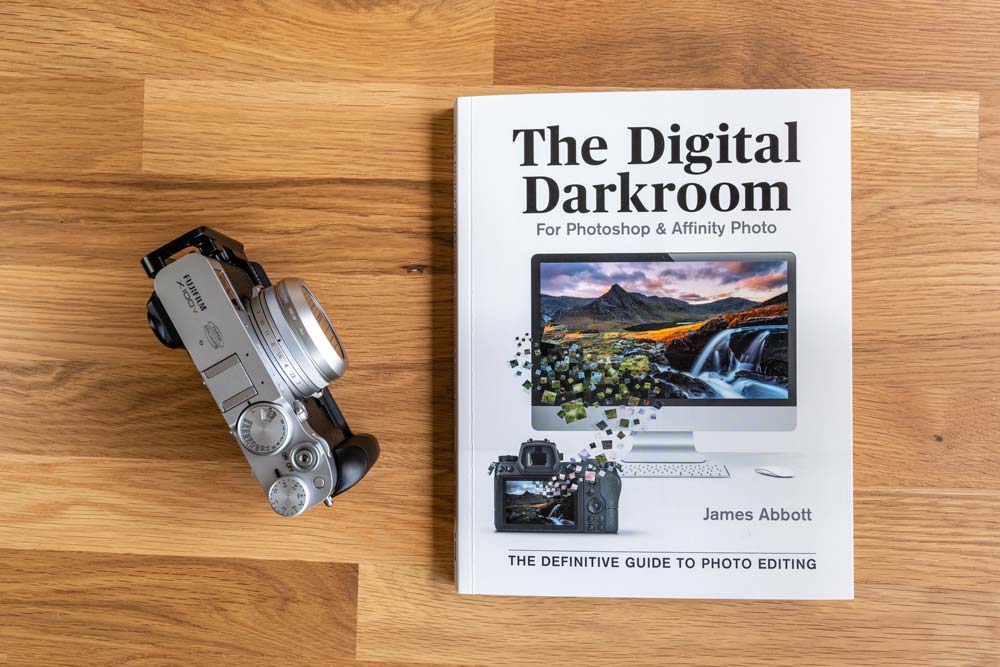
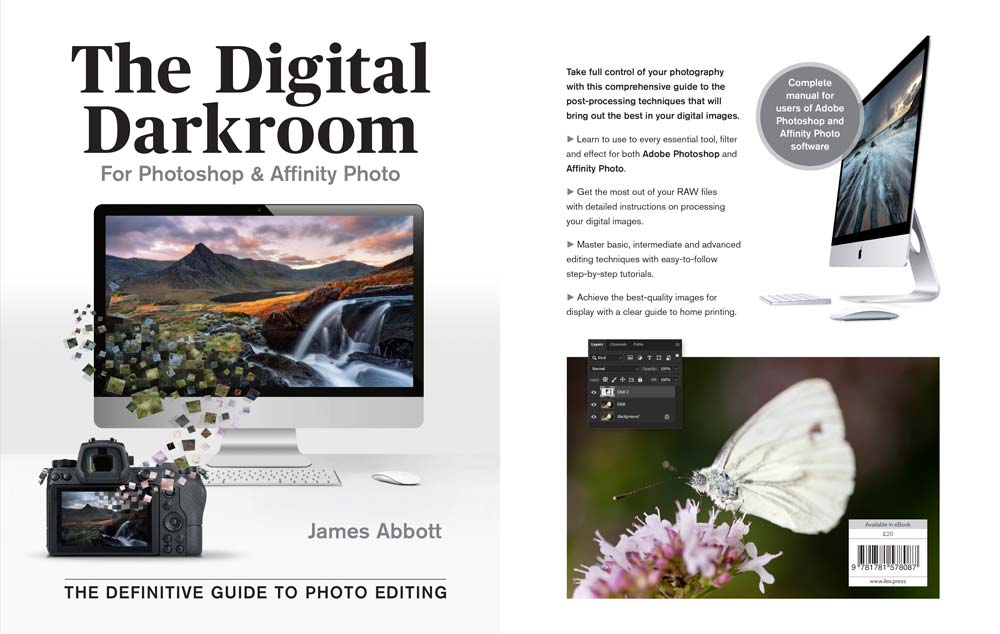
Editing and processing your photos is an important part of the image making process and one that you can’t ignore if you want to get the best from your photography. Choosing the best software for the job often comes down to two options: Adobe Photoshop or Affinity Photo. In my book The Digital Darkroom: The Definitive Guide to Photo Editing, I teach you everything you need to know about photo editing with both types of software through informative and easy-to-follow tutorials.
affinity photo
Bleach bypass effect in Affinity Photo
Learn how to apply a bleach bypass effect in Affinity Photo to boost contrast, accentuate texture and to subtly desaturate your images. The technique works well for all types of photography, and by controlling the overall strength the result can vary dramatically.
How to add motion blur in Affinity Photo
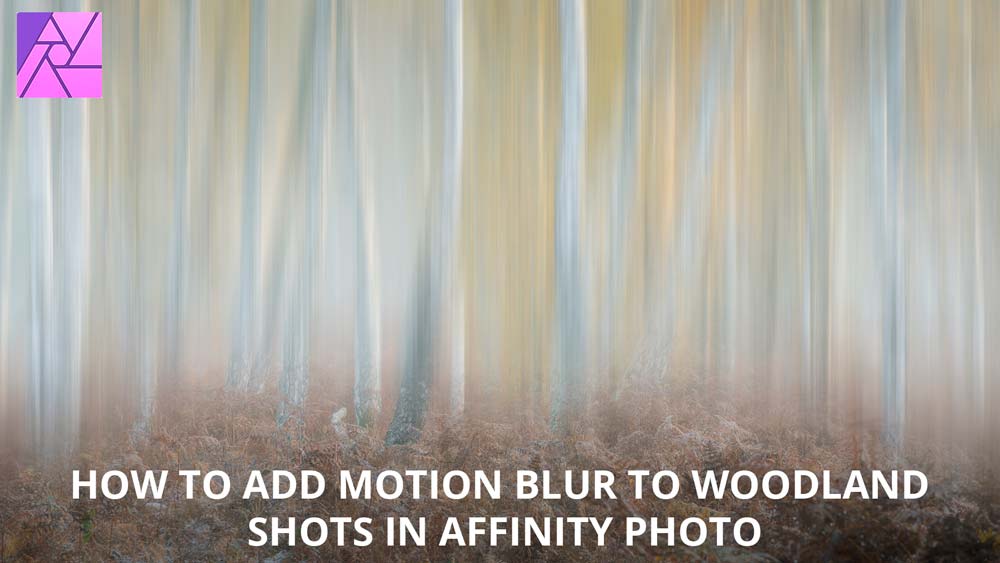
Woodland photography is both a challenging and an extremely rewarding subject, and there are several shooting and editing techniques that are commonly used with this type of photography; one editing technique that has grown hugely in popularity over the last few years is to add motion blur to woodland shots to create a surreal kind of vertical panning effect where sharpness and blur collide. So, here’s how to creatively add motion blur in
How to focus stack images in Affinity Photo
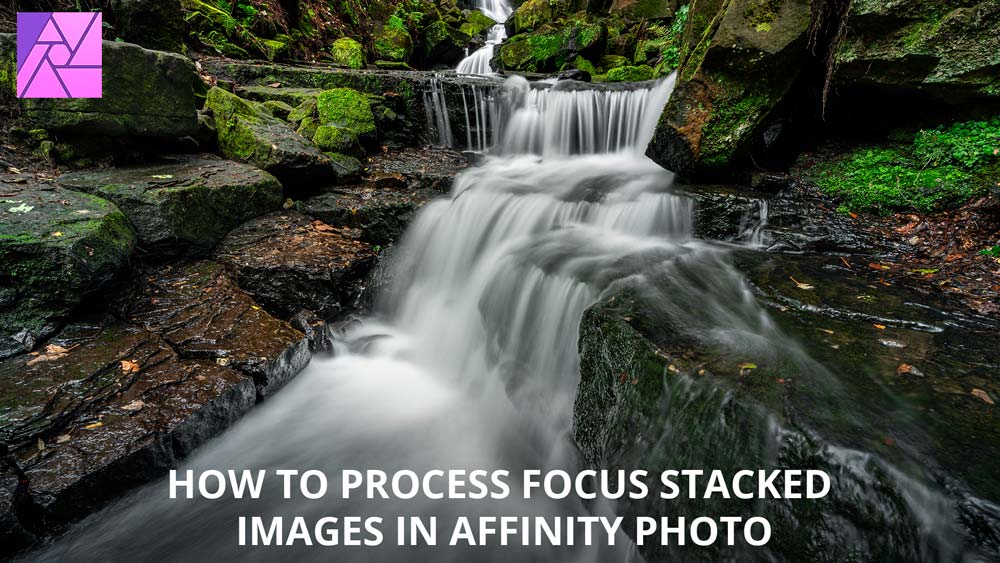
Focus stacking is a fantastic technique for landscape photography because it provides perfect sharpness throughout the scene you’re shooting. In fact, the results are so sharp the resulting images can look hyperreal. So, here’s how to focus stack images in Affinity Photo.
Advanced masking & blending start images
If you’ve bought a copy of The Digital Darkroom: The Definitive Guide to Photo Editing, I want to say a huge thank you and hope that you enjoy the book while improving your photo editing skills. On page 170 there’s a tutorial covering advanced masking & blending, so to help you to complete the tutorial you can download the start images using the link below.
The Digital Darkroom is now on sale
My first book, The Digital Darkroom: The Definitive Guide to Photo Editing goes on sale today, and is aimed at users of both Adobe Photoshop and Affinity Photo. This is a unique approach to photo editing books, and photographers of all levels using either software option can benefit from the tutorials that are designed to help you to become an expert image editor.
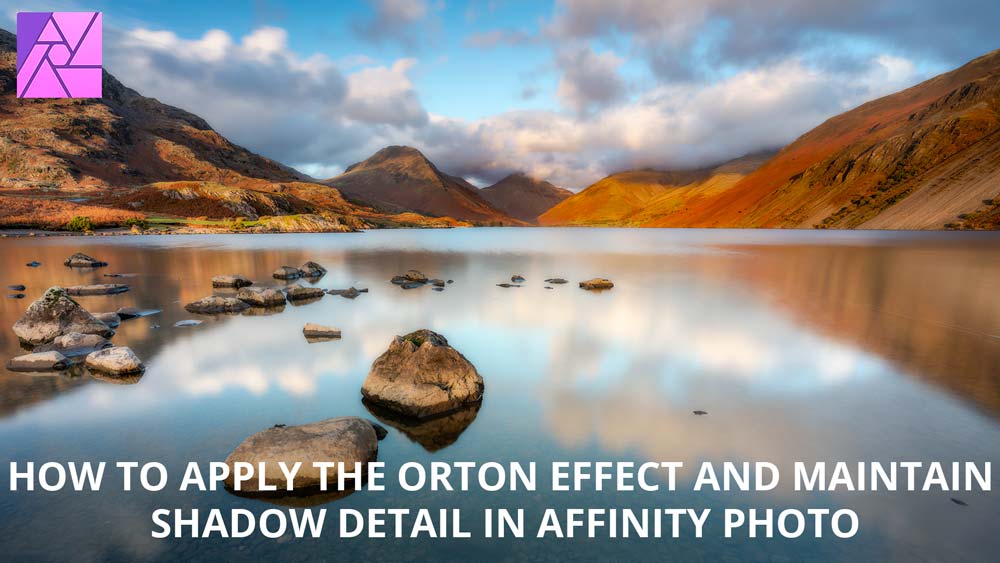
How to apply the Orton Effect in Affinity Photo
Learn how to apply the Orton Effect in Affinity Photo to achieve the best effect possible as well as smaller file sizes. By combining the Layers created for the effect into a single Layer file sizes can remain small when saving images as TIFFs or in other formats that support Layers. But most importantly, this approach avoids crushing shadow detail to maintain the most natural effect possible.
The Digital Darkroom: The Definitive Guide to Photo Editing
My first book, The Digital Darkroom: The Definitive Guide to Photo Editing, is now available on Amazon in paperback and Kindle editions. Through tutorials, you can become an editing expert and make your images stand out from the crowd while gaining a greater understanding of Adobe Photoshop and Affinity Photo; what it has to offer and how to harness its power.
Enhance detail and atmosphere with the Orton effect
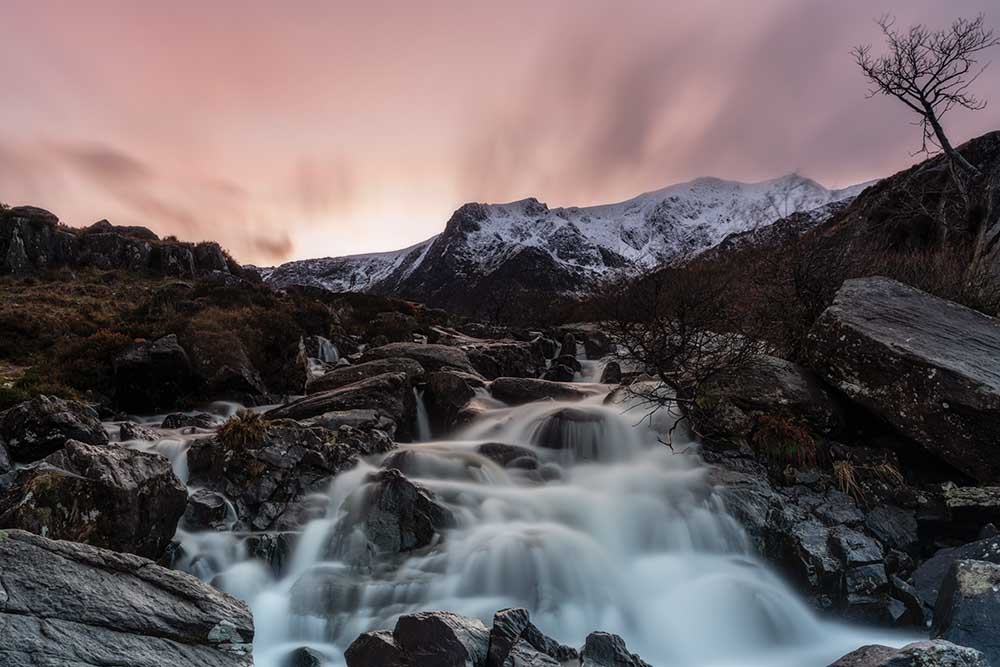
Discover an advanced method of applying the Orton effect that keeps file sizes small and image quality at its best. I developed this refined technique myself in response to upgrading to a higher resolution camera, which meant the original technique created huge file sizes when saving layered images as TIFFs. And also, to deal with the problem of crushed shadows. This version solves both of these issues for the best results possible, and the tutorial works for Both Photoshop and Affinity Photo.
